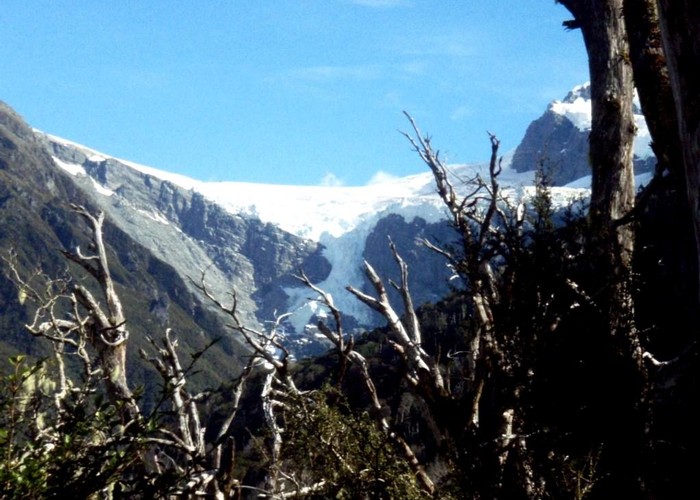
Route Guide: Otira to Mt Cook Village (pt 1)
- 12 – 21 days one way
- Hard
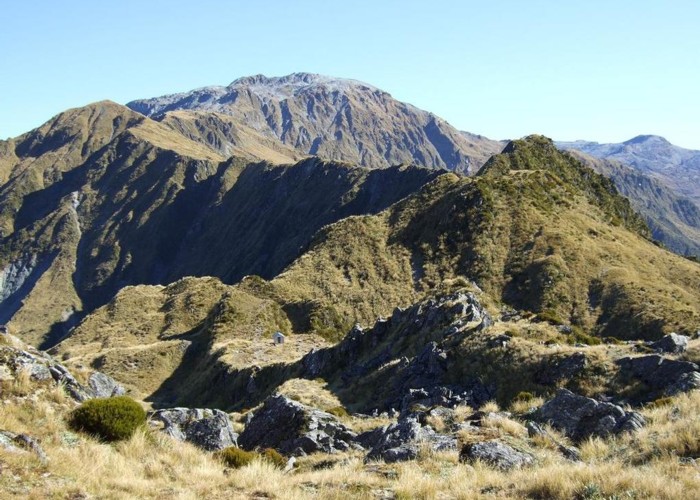
One possible route down the main divide from Otira on the Arthur's Pass road to Mt Cook Village.
Otira Hotel to the Mountaineer's Bar - file this one under 'tramps starting and ending at a pub'.
|
Walking time
|
12 – 21 days |
|---|---|
|
Distance
|
220.0km |
|
Type
|
One way
|
|
Grade
|
Hard
Multiple 2000m+ untracked passes, remote country, big swift rivers Grades explained
|
|
Bookings
|
No bookings — open access
No — open access
|
|
Starts
|
Otira Hotel |
|---|---|
|
Ends
|
Mt Cook Village |
|
Maps
|
NZTopo50-BV19
NZTopo50-BV18 NZTopo50-BX16 NZTopo50-BX17 NZTopo50-BW18 NZTopo50-BY15 NZTopo50-BU20 NZTopo50-BV20 |
|
Altitude
|
200m
–
2,270m
Altitude change 2,070m
|
Kelly Shelter – Carrolls Hut (1.5 – 3 hrs, track)
The
From the
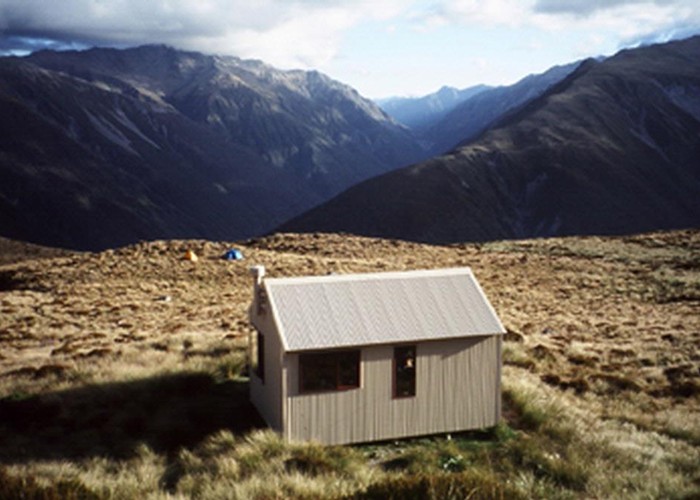
Carroll’s Hut sleeps 8, has no fireplace, and provides spectacular views back over the
Carrolls Hut to Dillon’s Hut (2.5 hrs, partially-poled route on tops, track to valley floor)
The poled route continues climbing steadily through the tussock behind Carroll’s Hut to reach Kelly Saddle. From here, swing left, following the now-intermittent poles at about 250 degrees along the western (Taipo) side of the ridge between the Taipo and
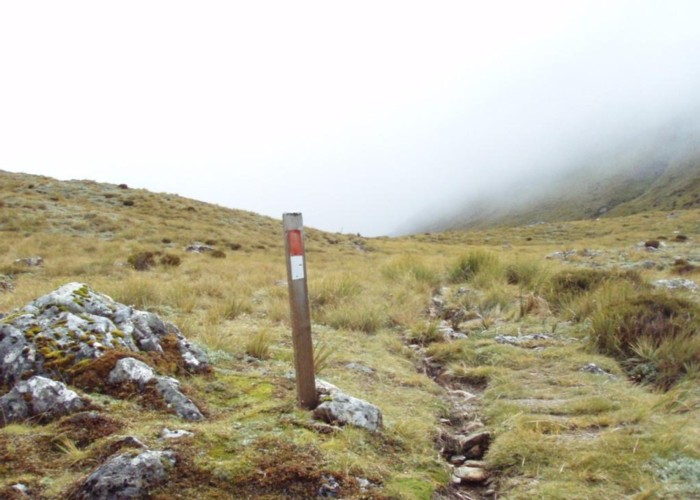
A 4wd track runs along the valley floor, and SH73 can be reached by turning right and following it 9km downriver. Turn left, however, to reach the historic but functional Dillons
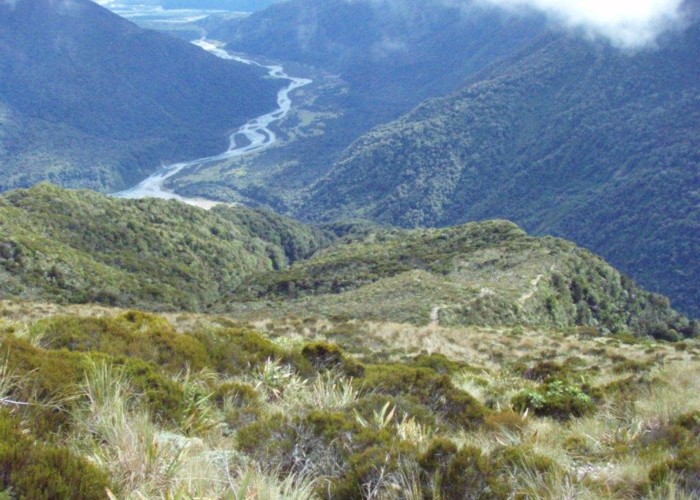
Dillon’s
From the Dillon’s
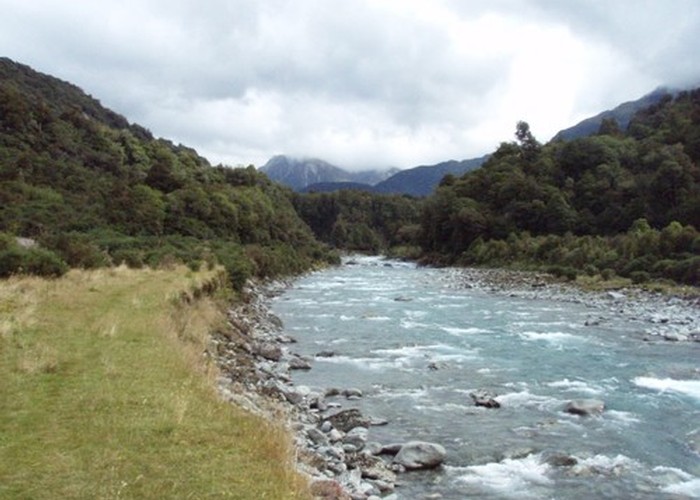
(The unmarked track continuing up the Taipo from here passes Mid Taipo Hut before crossing Harmans or Popes passes from where interesting return trips lead over several passes to Arthur’s Pass)
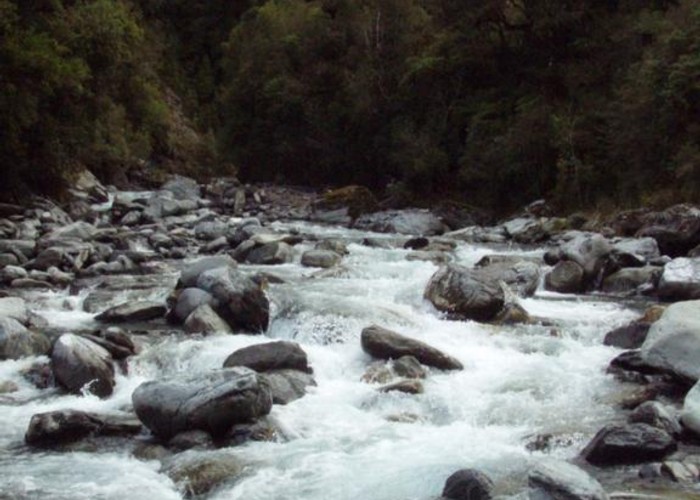
Take the route up Dunn’s creek, which is also unmarked but easy until the first of the (impassable) waterfalls is reached. Sidle through 1 tongue of beech on the true left of the falls, to reach a slip running parallel to the creek, with a defined bush ridge in between the slip and the creek. The slip is clearly marked on maps. Climb part way up the slip, then cut left onto the ridge, where you’ll pick up an old track marked with white permolat. I was unable to find the start of this track, but picked it up ok by cutting to the ridge as described. Note that this track is marked incorrectly on the 260 series topomaps: it is shown further upriver and on the wrong side of the ridge. Marked, but badly overgrown, the track climbs the ridge until it flattens above the gorge, and then sidles left across two side creeks keeping just above the steep faces. It maintains this level veering towards the main creek, hitting open marshes 300m from Dunns Creek Hut.
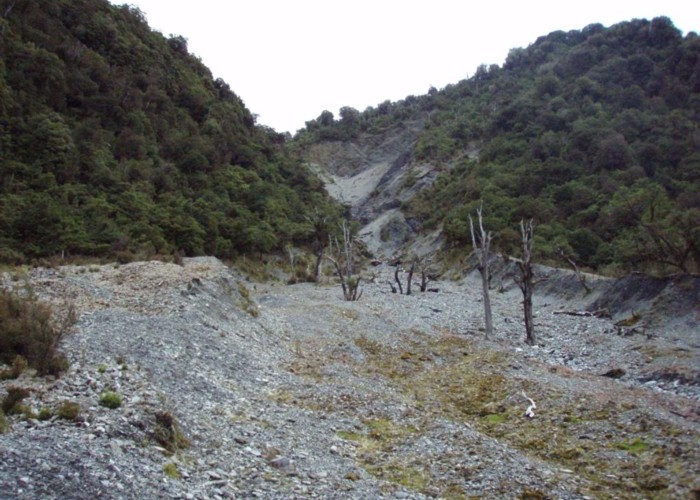
Dunn’s Creek Hut is a standard 4-bunk forestry hut. It’s in a marshy spot, and firewood can be scarce.
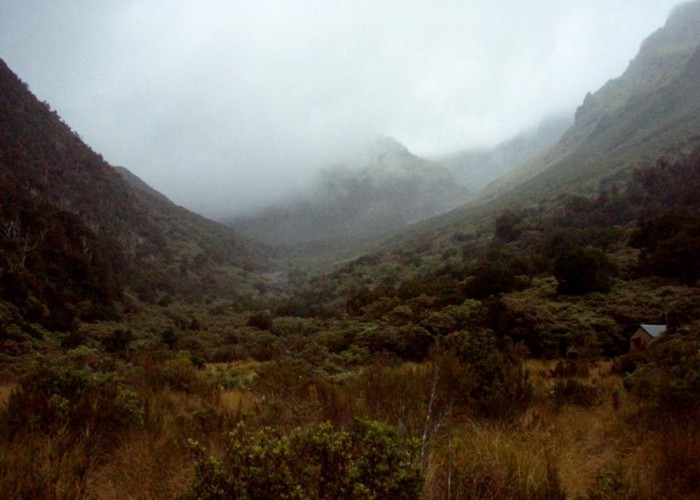
(Alternative routes from Dillons Homestead include climbing to Scotty Biv on the Tara Tama Range and descending directly to Newton Creek Hut, or continuing up the Taipo to Mid Taipo Hut and taking the cut track from there back to Dunns Creek Hut – a longer but easier route.)
Dunn’s Creek Hut -> Newton Creek Hut (4hrs, very scrubby riverbed route)
Note: a new track has been cut through this saddle so this description may be out of date and times likely reduced.
Follow the track 400m from Dunn’s Creek Hut to return to Dunn’s Creek, then head upriver, sticking to the riverbed / banks. At the forks, take the southern-most fork heading due west. This section is very scrubby, and wet feet proved a much better solution than hours of bashing through sub-alpine scrub. Some parties reported 14hr trips between these huts by attempting the bush-bashing approach.
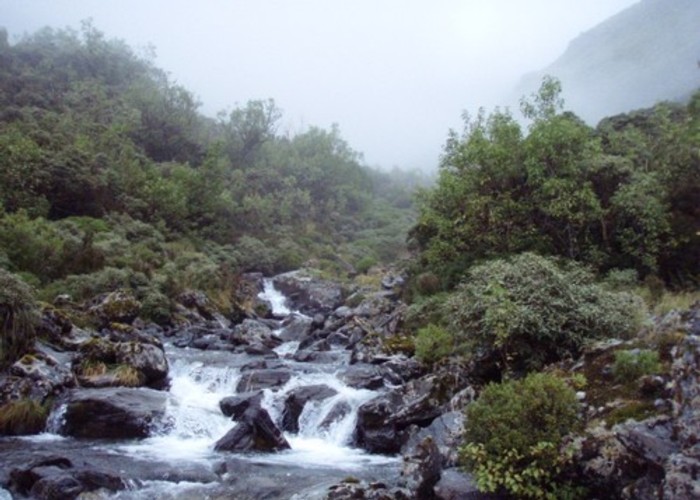
Eventually scrub will be left behind and you’ll continue up a now v-shaped tussock valley. Climb to the tussock saddle between Dunn’s and Newton Creeks, and descend to the creek on the far side. Follow the creek back into scrub and bush to the confluence with the larger north-south branch of Newton Creek – it’s a steep and slippery descent especially after rain. Newton Creek Hut is 500m downstream from the confluence, on the true left.
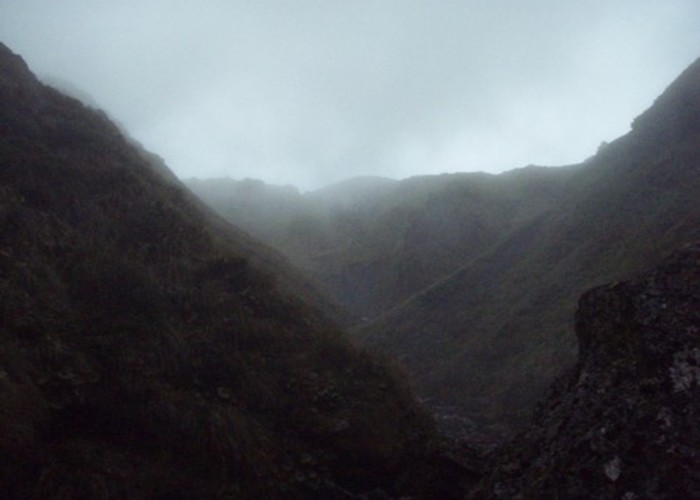
Newton Creek Hut -> Mudflats Hut (2.5 hrs, track)
The track from Newton Creek Hut to the Arahura was well marked but rough in 2006 – it has reportedly since been recut. On reaching the Arahura it was unmarked: head downriver and cross the swingbridge, then return upriver to a small creek almost directly opposite where you descended to the valley floor. Occasional cruise tape and
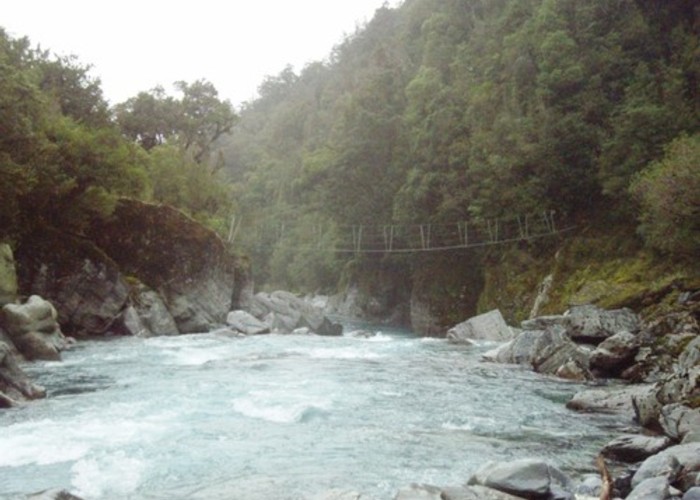
The Arahura-Styx pack track is benched, easy and in excellent condition, sidling through the gorged section of the river before dropping to the flats near Mudflats Hut. It’s an easy stroll from the Newton Creek turnoff to Mudflats Hut, which is reached via another swingbridge.
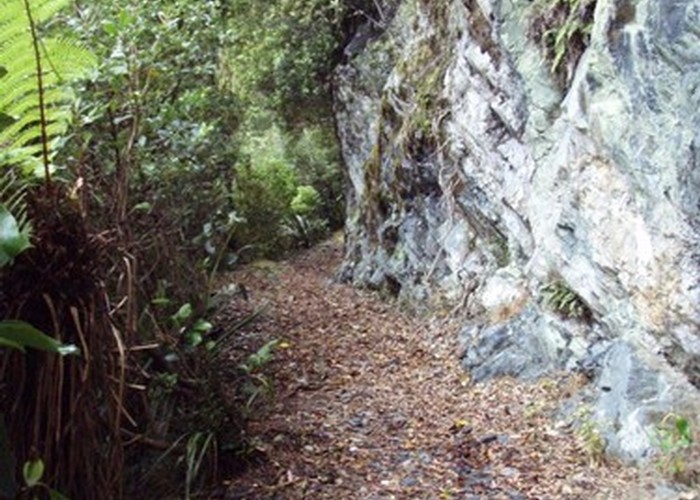
Mudflats Hut -> Grassy Flats Hut (2.5hrs, benched track, boggy on saddle)
Cross back over the swingbridge from Mudflats Hut, and follow the gentle-graded, platformed
Grassy Flats Hut -> Browning Range Biv (1.75hrs, track)
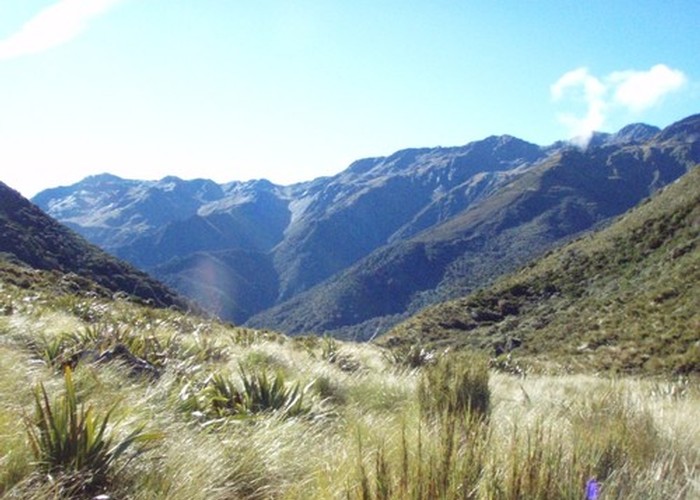
Follow the Styx – Arahura pack track a further 500m downriver from Grassy Flats Hut to where a signposted track heads left to ‘Browning Biv 2 hrs’. The track is good, and cut across the flats as far as a stream, which it then follows steeply uphill for about 1km before cutting right onto a ridge. The track is well marked, and Browning Range Biv obvious on the ridge above. With a climb of 1000m in a little over 1km, this is a steep, hard ascent.
Browning Range Biv -> Upper Crawford Biv via Lathrop Saddle (???, poled, cut route through scrub, unmarked above scrubline)
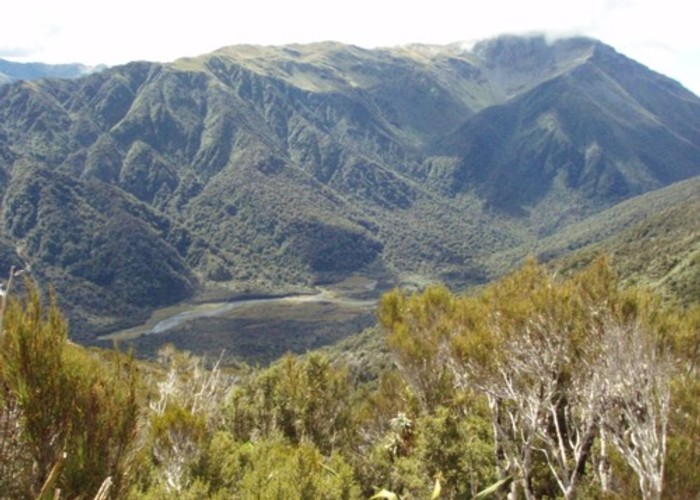
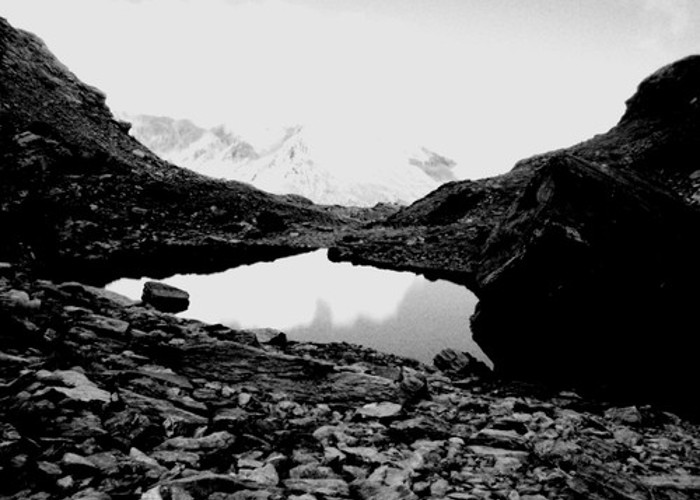
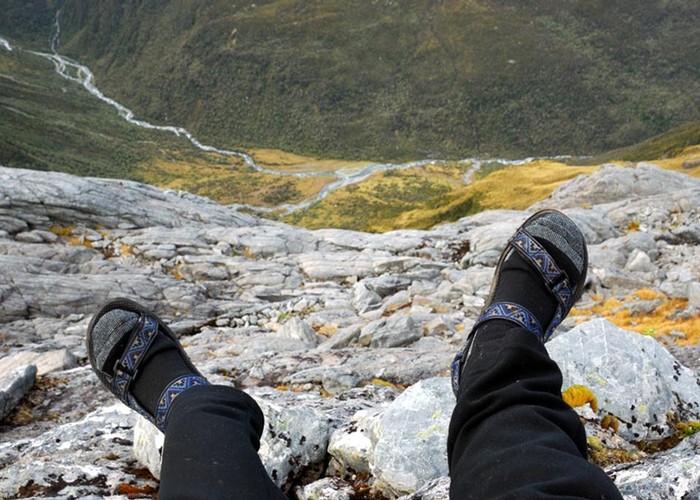
A steep cut track heads up the ridge from the Biv towards the pass. The markers stop at the pass, but the route is obvious through a U-shaped hanging valley which cuts right through the range into the upper Crawford. This is the Lathrop Saddle. Picturesque small tarns dot the boulder-strewn valley floor, and it is a spectacular place - worth visiting in and of itself. From the Crawford side of the saddle, drop / sidle to the right until you find good scree, then descend. You are aiming for the ridge to the right of the stream below the saddle, the first ridge downriver of the biv. Hopefully, you’ll eventually pick up marker poles, but if not just descend this ridge to the valley floor and cut a short distance upriver to Top Crawford Biv. The more obvious ridge upriver of the biv is bluffed, scrubby and not recommended (therein lies a tale!).
Top Crawford Biv -> Top Crawford Hut (1.5 hrs, river route then sidle track)
Follow the river flats 1km downriver to where mature bush begins, crossing where convenient and looking out for large DoC triangles on the bushedge on the south bank. These mark the start of the sidle track which leads a further 1.5km to Top Crawford Hut. This was overgrown in 2007.
Top Crawford Hut -> Crawford Junction Hut (1.5hrs, track)
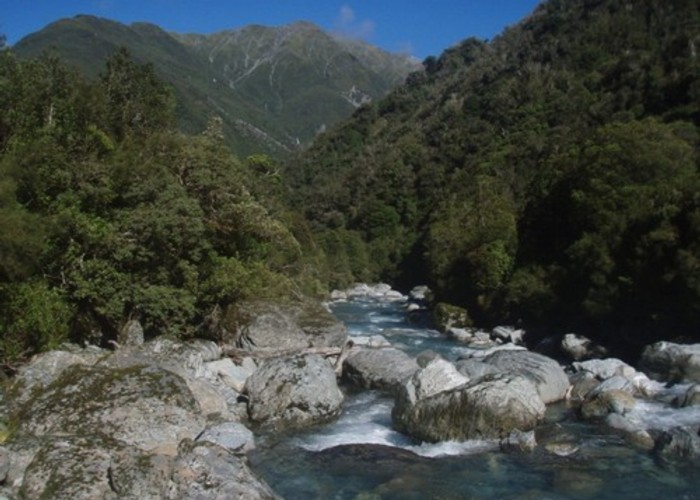
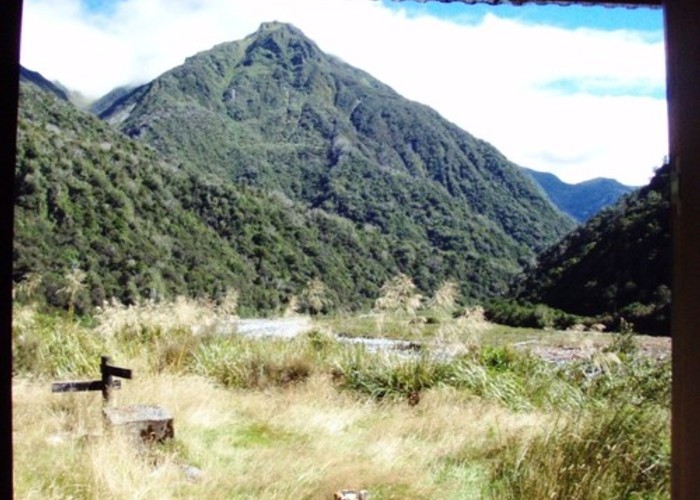
A good sidle track stays mostly well above the river from Top Crawford Hut, dropping to cross Farquarharson Creek. This crossing was possible in moderate flows but would be tricky with more water present. The track resumes leading to Crawford Junction Hut on river flats at the Kokatahi / Crawford confluence, a further 1 km downriver.
(From Crawford Junction a track leads 15km downriver to the Kokatahi roadend)
Crawford Junction Hut -> Top Kokatahi Hut (4 hours, riverbed route / track)
Note that dilapidated Top Kokatahi Biv has been removed, and Top Kokatahi Hut relocated to the old biv site.
From Crawford Junction Hut a sidle track leads up the Kokatahi 1.5km to Clarke Creek, crossing the river by way of another cableway. This track was overgrown and rough in 2007.
From Clarke Creek the track disappears and becomes a river-route until 400m below the old Kokatahi Hut site / swingbridge. This is moderate to difficult going in normal conditions, boulder hopping with occasional sidles into the bush. The permolat team have marked a rough high-water sidle track along the valleyside, but in most conditions the river is still easier and faster going. Look out for DoC triangles 400m below the bridge marking the start of the track on the true left.
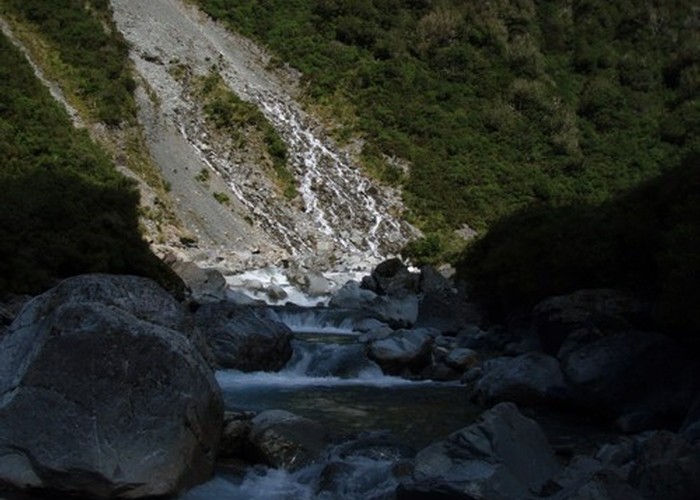
The track is well marked and cut from the bridge to the new Top Kokatahi Hut /old biv site, but crosses the Kokatahi River several times (old 260-series maps incorrectly show no crossings).
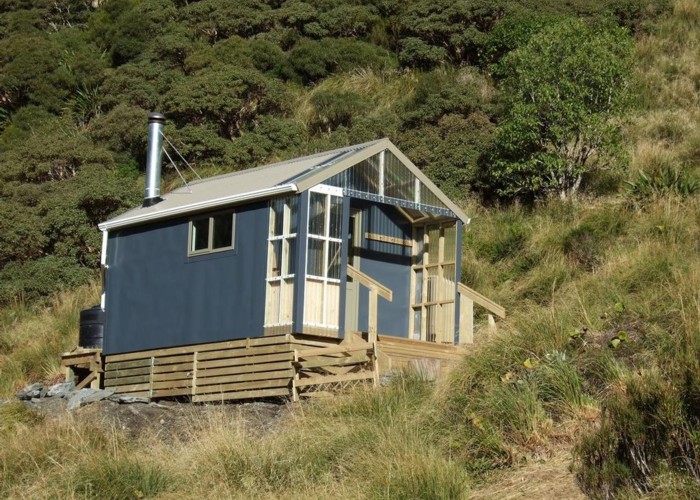
Top Kokatahi Hut / Biv -> Toaroha Biv (5 hrs, route)
A steep climb though manageable tussock slopes leads to the 1st peak south of Zit Saddle, from where views stretch to the West Coast and to the high glaciated peaks north of Mt Cook. These views continue throughout the day.
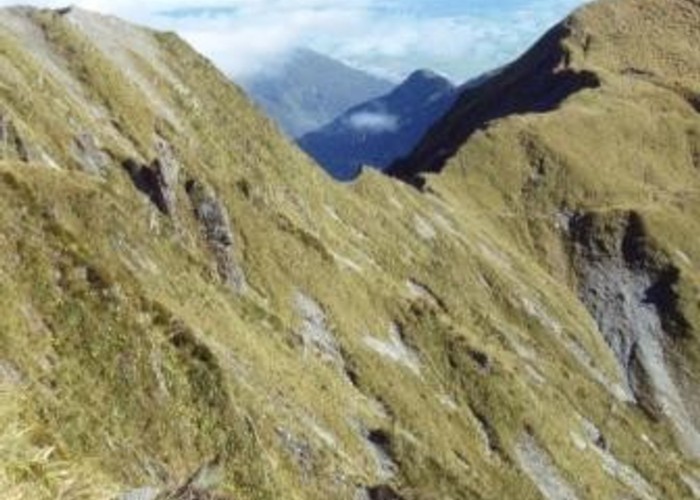
From the peak a broad ridge leads south over rock / lichen to pt 1809. From here a narrow, rocky ridge cuts east to Mt Chamberlin. Sidling the north face may be the easiest option. Chamberlin’s northern summit is tricky and can be bypassed, again sidling the north face, returning to the ridge for the southern of the two summits. The ridgeline to the next peak south of Chamberlin is even trickier, and the best route seems to be dropping to the corrie to the west of the ridgeline, returning to the ridge and then sidling the eastern face until things improve before the next summit.
From thgere going’s easier, though multiple ill-defined ridges lead down from Mt Bannatyne – a compass is essential in bad visibility as the obvious ridge is not the one leading to Toaroha saddle. Once on it, however, it’s an easier stroll down an ever-widening ridgeline to Toaroha Saddle. A spectacular waterfall lies at the head of Bannatyne Creek, about 1km east of the saddle. From here the ridgeline, now back in tussock, starts to climb and fall again before reaching the pass / Toaroha Biv, where the track up the Toaroha crosses into the Mungo and descends to Poet Hut.
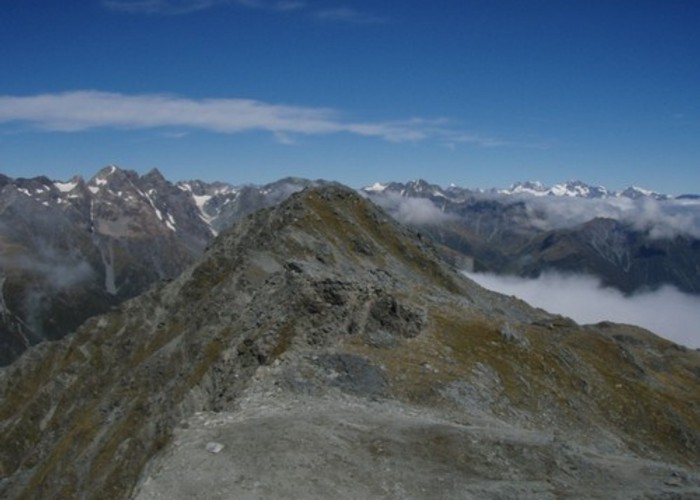
Toaroha Biv -> Poet Hut (45 mins, track)
After an initial tough descent through thick tussock to the scrubline, a good cut track leads straight down the spur to the
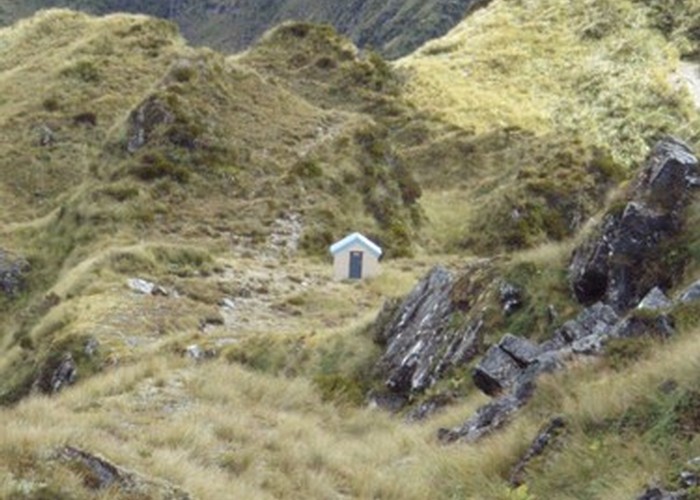
Poet Hut -> Frew Saddle Biv (5hr30, tracks, routes on tussock sections)
Note: The route described here climbs Homeward Spur before descending back to the Hokitika. Since this was written the swingbridge below Bluff Hut has been replaced, and the track from Poet Hut to Bluff Hut reopened. This may prove an easier route than the one described here – certainly involved less climbing!
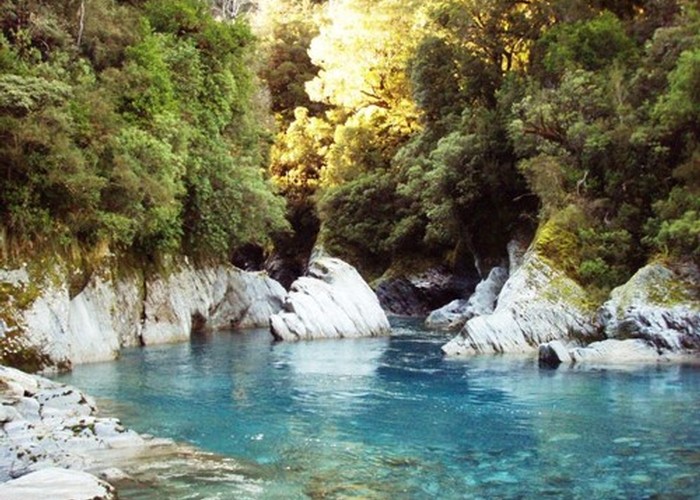
From Poet Hut head back upriver 500m along the sidle track to the swingbridge. Cross the bridge and follow the good cut track up the spur through first bush and later scrub to reach the tussockline at 1200m. Steep – but very good going, a great start to the day. From here the ridgeline is more gentle. There are occasional poles, but it’s easy to lose them in poor visibility. Apart from a few rocky outcrops, the route remains in the tussock all the way. Head to the summit at pt1661 and follow the ridge descending west, on the northern side of Steadman Creek – you’ll eventually pick up the poles again. Speargrass becomes thicker as you descend and is more-or-less continuous by the time you reach the Hokitika valley floor, where a cut track is visible coming up the valley from Bluff Hut.
Unfortunately this cut track ends just below Steadman Creek, and though the poled route continues, it is solid with speargrass and the creek-bed will probably be a less painful route. The Hokitika is small by this stage, and crossing should almost never be an issue. Continue upriver using whatever route seems easiest until you see the low-point of Frew Saddle on your right. The poled route climbs directly to Frew Saddle, but you may wish to head up to the ridgeline earlier to escape from the speargrass on the valley floor. Frew Saddle Biv lies just to the west of the saddle.
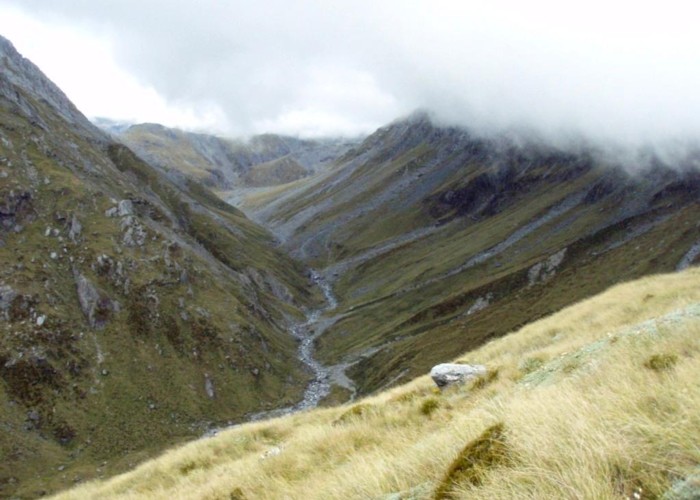
Frew Saddle Biv -> Frew Hut (3hrs, riverbed route, sidle track)
From the biv, follow the creek for about 1km down the valley. This involves the usual mix of sidling, rock-hopping and wet feet. The sidle track starts where indicated on the map, and is well marked, well cut (2006), but still very slow going: narrow with steep dropoffs and many, many roots. Overall the trip took twice my estimated time. The track reaches the Whitcombe at the confluence with
Frew Hut to Prices Flat Hut (3.5 hrs, track)
A good cut track leads through lush green bush, along river terraces up the Whitcombe from Frew Hut. Several small side-creeks are unbridged. Frew Creek is the largest, and as long as this is crossable the others should present no problems. As the river gorges out, the track climbs and sidles the face. The last 2km to Prices Swingbridge crosses almost continuous slips and slumps – meaning sections of track are often absent and making for slow going.
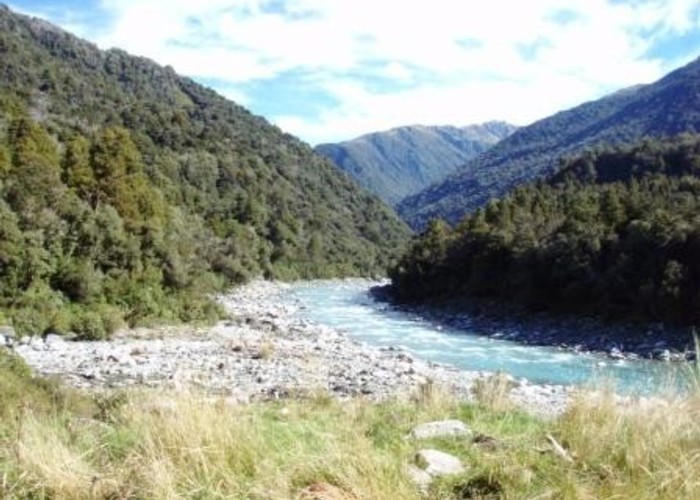
Soon after the swingbridge the track drops to broad flats of grass and regenerating bush. Passing through a serried of clearings, in one of which lies the Historic Prices Flats Hut. This is a beautiful slab hut, but certainly not sandfly proof, and probably better admired than stayed in.
The new Prices Flat Hut is 400m further up the track on a terrace overlooking the valley.
Prices Flat Hut -> Neave Hut (4.5hrs, track)
Follow the good cut track upriver from Prices Flat, crossing the side creek and climbing before sidling through old mossed over slips and boulderfields in the bush. The track continues to sidle most of the way to the Prices Swingbridge, where tracks lead over the river to Prices Basin Hut and Wilkinson Hut. Continuing up the true right towards Neave, the going gets harder, the sidle track rising and falling repeatedly, but giving great views of glaciers opposite. Bush finally gives out to scrub, but the track is good, Neave Hut on tussock terraces on the true right shortly above the gorge.
