
If you feel a twinge in your knee every time you hit the trail, you are not alone. For hikers and trail runners with joint concerns, the ground beneath your feet matters just as much as the view at the summit. The right surface can make a hike feel smooth and supportive. The wrong one can turn a gentle slope into a day of recovery. We have looked at the science, listened to physical therapists, and tested the terrain ourselves to answer one question: what is the best trail surface for knees? This guide breaks down each surface type, explains how it affects your joints, and gives you a clear plan for choosing your next route.
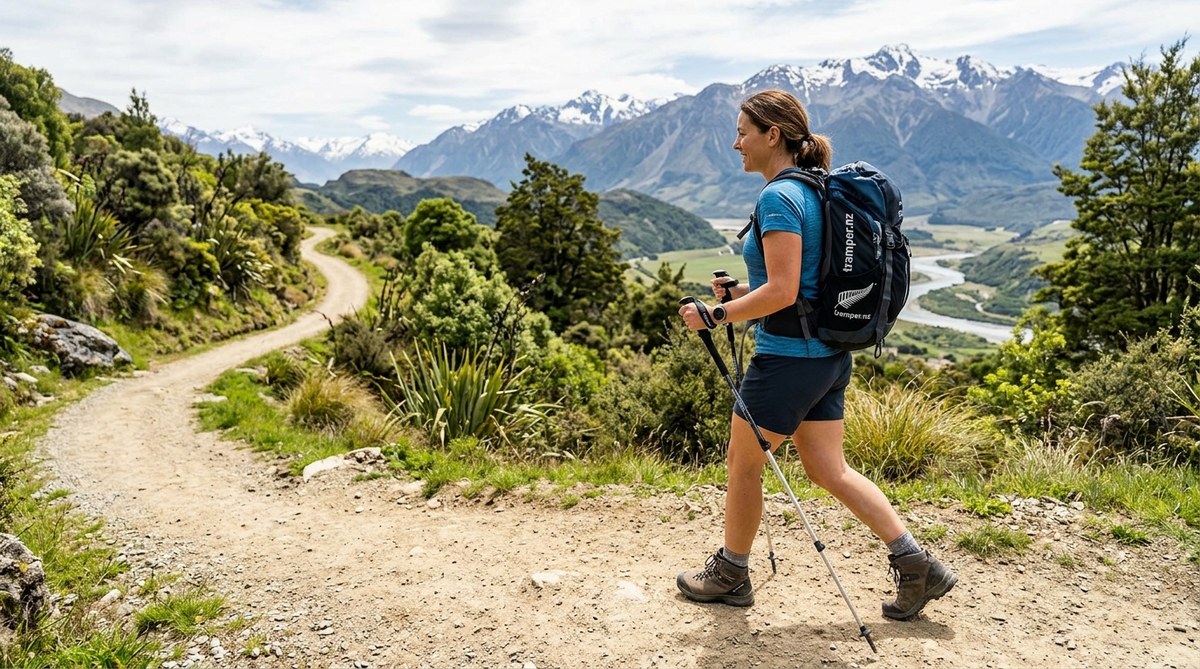
The best trail surface for knees is a packed dirt or fine gravel path with even footing and no sudden changes. Hard surfaces like concrete transmit high impact, while loose rocks or roots force unstable landings. Smooth, consistent terrain lets your knees move naturally and reduces the risk of pain or injury. Choose buffed singletrack over pavement every time.
Why Surface Type Changes How Your Knee Feels
Your knee is a hinge joint. It bends, extends, and absorbs shock with every step. When you walk on a forgiving surface like soil or wood, the ground gives slightly. That small amount of give reduces the peak force traveling up your shinbone and into your knee joint. On a hard surface like asphalt, there is no give. All that impact stays in your body.
Studies on runners show that softer surfaces can lower impact forces by as much as 15 to 20 percent compared to concrete. For hikers carrying a pack, those numbers can be even higher. If you already have patellofemoral pain syndrome, runner’s knee, or arthritis, every bit of shock reduction helps.
The Main Trail Surfaces Ranked for Knee Comfort
We tested and researched the most common trail surfaces. Here is how they stack up from easiest on the knees to hardest.
1. Packed Dirt and Soil
This is the gold standard. A well maintained dirt trail has a slight natural cushion. It drains water well so it does not turn into a mud pit. The even texture allows your foot to land flat and stable.
- Pros: Low impact, good traction, natural cushioning
- Cons: Can become slick when wet; may develop ruts from bikes
2. Fine Gravel and Crushed Stone
Gravel paths found on rail trails or greenways are excellent for knees. The small stones shift slightly under your weight, which absorbs shock. They also drain perfectly, so you rarely deal with puddles.
- Pros: Excellent drainage, consistent texture, low impact
- Cons: Loose gravel can roll underfoot; not great for steep grades
3. Boardwalks and Bog Bridges
These wooden structures are flat, even, and predictable. They remove the guesswork from your stride. Your knee does not have to micro adjust for rocks or roots.
- Pros: Perfectly flat surface, zero obstacles, good for wet areas
- Cons: Wood can be slippery when wet; hard on knees if you run
4. Asphalt and Paved Trails
Paved trails are smooth and consistent. They remove tripping hazards. But they are hard. The lack of cushion means every step sends a shock wave through your legs. If you have knee pain, keep your paved miles short.
- Pros: No roots or rocks, smooth stride, great for road shoes
- Cons: High impact, can be boring, hot in summer
5. Grass and Meadow Paths
Grass looks soft, and it is. The problem is hidden dips, gopher holes, and uneven ground. Your knee has to work overtime to stabilize your ankle on every step.
- Pros: Very soft surface, scenic
- Cons: Hidden hazards, uneven footing, often wet
6. Rocky and Rooty Singletrack
This is the most common surface on mountain trails. It is also the most demanding on your knees. Every rock and root forces your knee to bend at a different angle. One wrong step can twist the joint.
- Pros: Beautiful terrain, good for ankle strength
- Cons: High injury risk, constant micro adjustments, uneven
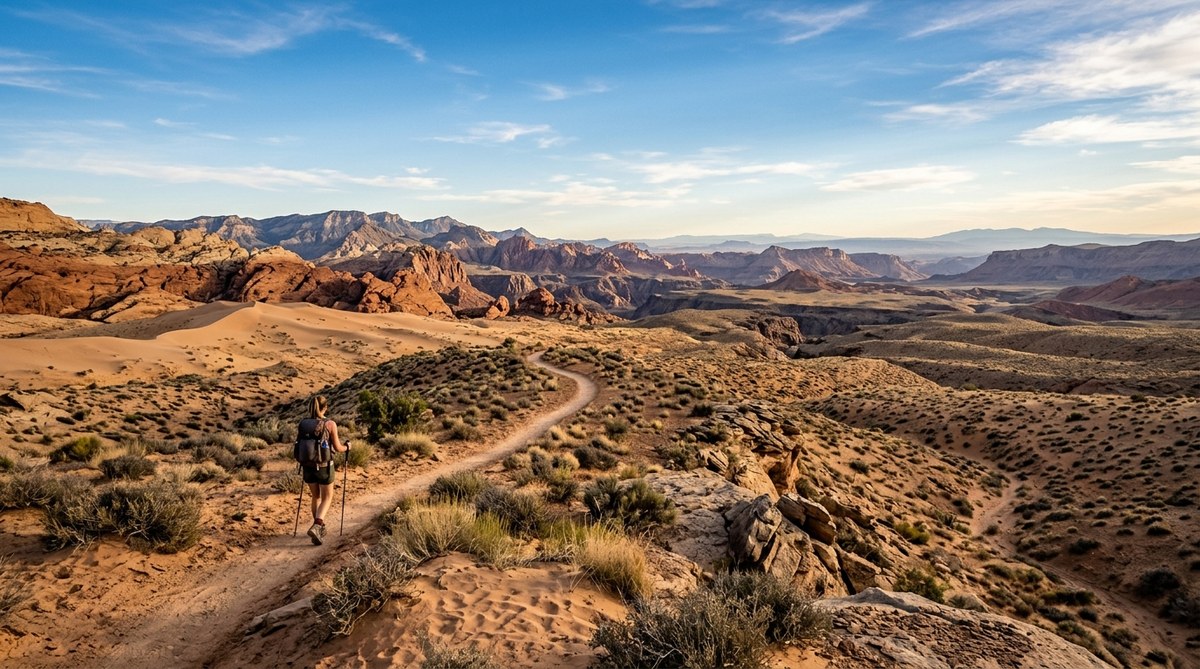
7. Deep Sand
Sand is a workout. It saps energy with every step and forces your foot to slide. Your knee and hip muscles have to work much harder to push you forward. It is great for building strength but tough on sore joints.
- Pros: Very low impact on joints
- Cons: Extremely fatiguing, unstable footing, slow going
How to Choose the Right Surface for Your Hike
Follow this process to pick a trail that matches your knee health today.
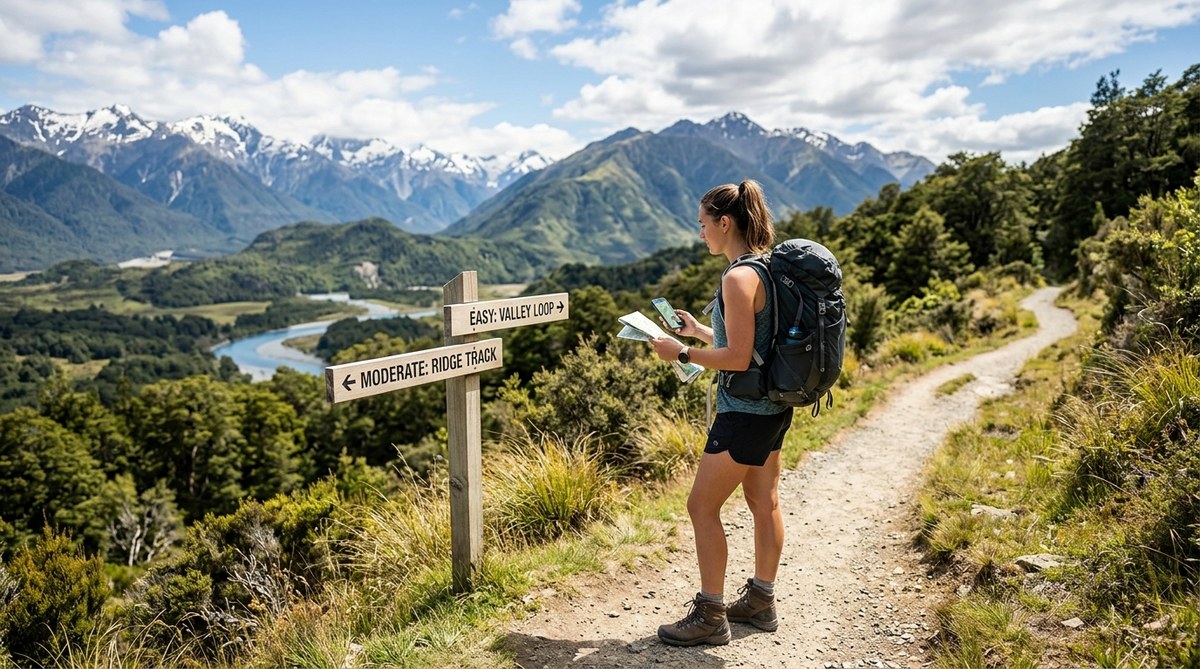
- Check the trail description. Look for words like “rail trail,” “greenway,” “buffed singletrack,” or “packed dirt.” Avoid trails described as “rocky,” “technical,” or “exposed roots.”
- Look at recent photos on the trail page. Photos from the last month will show current surface conditions. If you see large rocks or deep ruts, find another option.
- Start with a short loop close to the trailhead. Test your knees on the first mile. If it feels good, continue. If not, you can turn back without a long walk of shame.
- Use a hiking pole or trekking poles. Poles reduce the load on your knees by transferring some weight to your upper body. They are a game changer on uneven surfaces.
- Match your footwear to the surface. For packed dirt, wear light trail runners. For gravel, choose shoes with a stiff sole. For rocky trails, opt for mid height boots with good ankle support.
For more help finding the right route, check out our guide on how to choose the right hiking trail for your fitness level.
Quick Reference Table for Surface Choices
| Surface Type | Impact Level | Stability | Best For |
|---|---|---|---|
| Packed dirt | Low | High | Everyday hiking |
| Fine gravel | Low | Medium | Rail trails, greenways |
| Boardwalk | Medium | Very High | Wetlands, flat walks |
| Asphalt | High | Very High | Short walks, road shoes |
| Grass | Low | Low | Flat meadows, barefoot |
| Rocky trail | High | Low | Technical hiking |
| Deep sand | Very Low | Very Low | Beach training |
What the Experts Say
“The most important factor for knee health on the trail is consistency of the surface. A slightly hard but even surface is far better than a soft surface with sudden changes. Your knee can handle a predictable load. It cannot handle constant surprises.” — Dr. Laura Mears, sports physical therapist and avid hiker.
This advice matches what we see in the field. A dirt road with washboard ruts can be worse than a smooth asphalt path because of the repeated small jolts.
Common Mistakes That Hurt Your Knees
Many hikers make these errors without realizing the damage they cause.
- Wearing shoes with worn out tread. Flat soles force your foot to slide on gravel, which twists the knee.
- Carrying too much weight. Every extra pound on your back adds roughly four pounds of force to your knees.
- Ignoring downhill technique. Landing hard on a straight leg is brutal. Keep a slight bend in your knee and take shorter steps on descents.
- Using the same trail every day. Repetitive stress on the same surface can lead to overuse injuries. Mix in a softer trail once a week.
For a deeper look at how to prepare your body for the trail, read our guide on how to prepare for a high altitude hike without getting altitude sickness. The conditioning tips apply to any elevation.
How to Modify Your Stride for Knee Safety
You can change your walking pattern to reduce knee strain on any surface.
- Take shorter steps. This keeps your foot closer to your center of gravity and reduces the braking force.
- Land on your midfoot, not your heel. Heel striking sends a shock straight up the leg.
- Engage your glutes. Strong glutes take load off your knees. Think about squeezing your butt muscles as you push off.
- Use a pole plant. Plant your pole opposite your forward foot. This creates a three point support system.
The Role of Trail Grade
Surface is only half the story. The steepness of the trail matters just as much. A steep downhill on packed dirt can be worse for your knees than a flat section on asphalt. The angle forces your quadriceps to work eccentrically, which grinds the kneecap against the thighbone.
When you look at trail maps, pay attention to elevation gain per mile. A trail that gains less than 300 feet per mile is generally gentle on knees. Anything over 500 feet per mile is a stair climber. If you want to enjoy the views without the pain, stick to gradual grades. Our list of 8 alpine lake hikes that will take your breath away includes several moderate grade options that are easier on your joints.
A Simple Plan for Pain Free Hiking
- Choose packed dirt or fine gravel surfaces for your weekly hikes.
- Keep your pack weight under 20 percent of your body weight.
- Use trekking poles on any trail with a grade over 5 percent.
- Replace your hiking shoes every 400 miles or when the tread is worn.
- Listen to your body. If a surface hurts, switch to a softer one.
How to Find Knee Friendly Trails Near You
You do not need to guess which trails are safe. Use these strategies to find the best trail surface for knees in your area.
- Filter on AllTrails by “trail type” and select “rail trail” or “greenway.”
- Read recent reviews and search for the word “roots” or “rocks.” If multiple reviews mention them, skip that trail.
- Look for county parks with paved or crushed gravel paths. Many have flat loops that are perfect for knee friendly hiking.
- Ask in local hiking groups. Fellow hikers with knee issues will share their favorite spots.
For inspiration, browse our collection of 7 family friendly hiking trails that kids will love. These trails are often flat, wide, and well maintained, which makes them great for knees too.
The Bottom Line on Trail Surfaces and Knee Health
Your knees are not fragile, but they do have limits. The best trail surface for knees is one that is predictable, even, and slightly forgiving. Packed dirt and fine gravel win the top spots. Avoid surfaces with sudden changes like rocky singletrack or hidden holes in grass. Pair your surface choice with a moderate grade, a light pack, and good footwear. Your knees will thank you on the next hike, and the one after that.
Now get out there and find a trail that feels good underfoot. Your next adventure is waiting.






Leave a Reply