

You pull up a new hiking guide on your phone. The trail description says “moderate,” but your friend thinks it felt like a workout. Another site calls the same path “strenuous.” Why the difference?
Trail rating systems are not universal. A park in Colorado might call a 4-mile climb with 1,200 feet of gain “moderate,” while a state forest in Ohio gives the same label to a flat 5-mile loop. If you show up without knowing what the rating actually means, you could end up exhausted, disappointed, or even unsafe.
Understanding the trail rating system explained in this guide will help you pick the right hike every time. You will learn what factors go into each rating, how to interpret them across different regions, and how to match a trail to your own fitness level.
Trail ratings are not standardized. A single trail can be marked easy by one agency and moderate by another. To choose wisely, look past the label and check three factors: total distance, elevation gain, and technical terrain. Your fitness level matters too. A trail that feels easy for a regular hiker may be strenuous for a beginner. Always cross-reference multiple sources before you go.
Why Trail Ratings Are Not One-Size-Fits-All
There is no national hiking authority that decides what “easy” means. The rating system you see depends on who manages the trail. National parks, state parks, the U.S. Forest Service, and local hiking clubs each use their own scale.
Most systems share a basic three-tier structure:
- Easy – Short distance, little to no elevation gain, smooth surface.
- Moderate – Longer distance or moderate hills, some uneven ground.
- Strenuous – Significant elevation gain, long distance, rough or steep terrain.
Some organizations add a fourth level like “very strenuous” or “extreme.” Others use a number scale from 1 to 5 or a color code (green, blue, black) borrowed from ski slopes.
The problem? One park’s “moderate” can be another park’s “strenuous.” A trail in the Adirondacks with 2,000 feet of gain might be rated moderate. The same climb in the Midwest would be considered very difficult.
Expert tip from a former park ranger: “Always read the full trail description, not just the rating. Look for the specific elevation profile and distance. If the description says ‘rocky sections’ or ‘exposed ledges,’ treat it as one level harder than the label suggests.”
The Three Core Factors That Determine a Trail Rating
When you see a trail rating, it is almost always based on a combination of these three elements. Learn to evaluate each one yourself, and you will never be surprised by a trail again.
1. Total Distance
Distance is the most straightforward factor. A 1-mile loop is almost always easy. A 12-mile out-and-back is usually strenuous. But distance alone does not tell the whole story.
A flat 8-mile hike on a gravel path might feel easy for someone who hikes regularly. A 3-mile trail with steep climbs and loose rocks can feel much harder. Always consider distance alongside the other factors.
2. Elevation Gain
This is the number that matters most. Elevation gain is the total amount of climbing you do on the trail. It is usually measured in feet.
- Easy: Less than 500 feet of gain over the whole hike.
- Moderate: 500 to 1,500 feet of gain.
- Strenuous: More than 1,500 feet of gain.
These numbers shift depending on the region. In the Rockies, a moderate trail might have 2,000 feet of gain. In the Southeast, 1,000 feet is often considered strenuous.
Pay attention to the grade, too. A trail that gains 1,000 feet over 2 miles is steep. The same gain over 5 miles is a gentle climb.
3. Technical Terrain
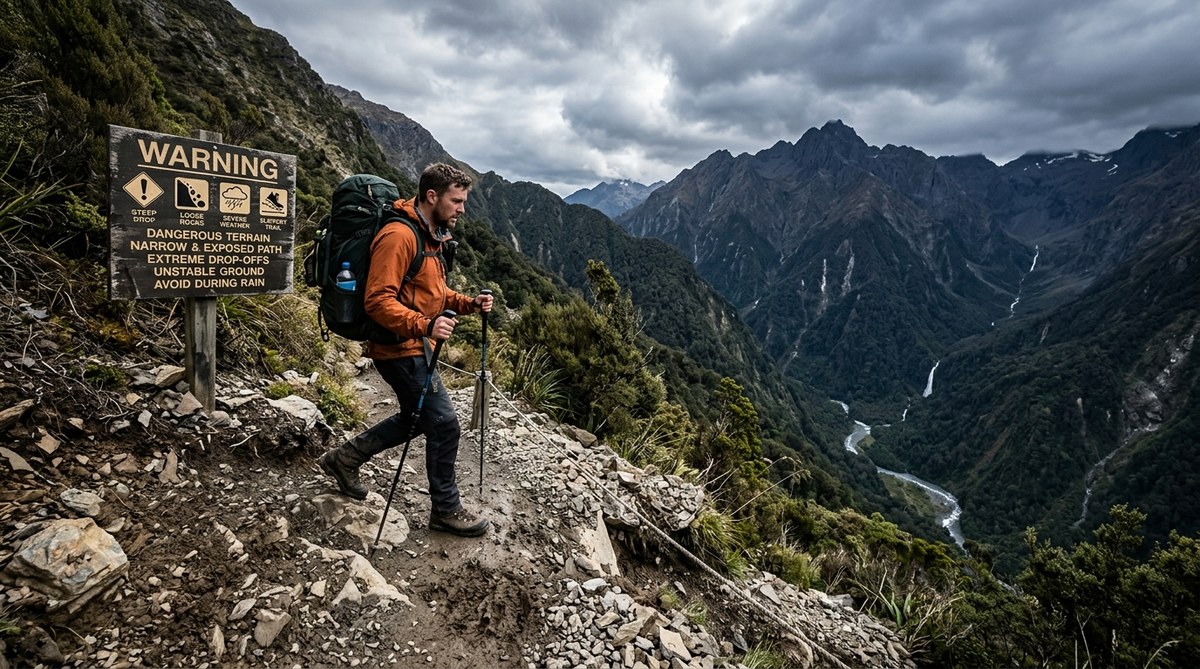
Technical difficulty refers to the surface of the trail and any obstacles you might encounter. This includes:
- Loose rocks or scree
- Roots and mud
- Stream crossings
- Scrambling sections where you use your hands
- Exposure (steep drop-offs next to the trail)
A trail can be short and flat but still be rated moderate if it is covered in boulders or requires crossing a river.
How to Read a Trail Rating Table
Most trail guides include a small table or legend. Here is a typical example of what you might see on a park website or a hiking app.
| Rating | Distance (round trip) | Elevation Gain | Typical Terrain | Who It Fits |
|---|---|---|---|---|
| Easy | Under 3 miles | Under 500 ft | Paved or packed dirt, no obstacles | Beginners, families, casual walkers |
| Moderate | 3 to 7 miles | 500 to 1,500 ft | Dirt trail, some rocks or roots, gentle slopes | Regular hikers, active beginners |
| Strenuous | 7+ miles | 1,500+ ft | Steep grades, loose rock, possible scrambling | Experienced hikers, strong fitness level |
This table is a starting point. Always compare it to the specific trail you are looking at. A 6-mile hike with only 600 feet of gain might be a great moderate choice. A 6-mile hike with 1,400 feet of gain and rocky sections will feel much harder.
A Step-by-Step Process for Choosing the Right Trail
Use this numbered process every time you plan a hike. It takes less than five minutes and can save you hours of misery on the trail.
- Check the official rating from the land manager (National Park Service, state park, Forest Service). Write it down.
- Look up the trail on a hiking app like AllTrails or Hiking Project. Read recent reviews. Pay attention to comments about mud, snow, or overgrowth.
- Find the elevation profile. If the app does not show one, search for the trail name plus “elevation profile.” Look for steep sections at the start or end.
- Compare the distance and gain to hikes you have already done. If this trail has more gain or longer distance than your usual hike, treat it as one level harder.
- Read the most recent reviews. Look for notes about trail conditions. A trail that is normally easy can become moderate after a rainstorm if it gets slippery.
- Check the weather. Hot temperatures, wind, or rain can make any trail feel harder. Plan for conditions, not just the rating.
- Make a decision. If you are unsure, choose a shorter or easier trail. You can always come back for a harder route next time.
Common Mistakes Hikers Make with Trail Ratings
Even experienced hikers misjudge a trail sometimes. Here are the most common errors and how to avoid them.
Mistake 1: Ignoring cumulative elevation gain.
Some trails go up and down multiple times. A 5-mile hike with three small climbs might have 1,200 feet of total gain. That feels different from a single 1,200-foot climb. Look for “cumulative gain” or “total ascent” on the trail page.
Mistake 2: Assuming “easy” means flat.
A trail can be rated easy and still have gentle hills. The rating means it is suitable for beginners, not that it is perfectly level. Read the description.
Mistake 3: Forgetting about altitude.
A moderate trail at sea level can feel strenuous at 10,000 feet. If you are hiking in high mountains, subtract one difficulty level from your usual ability. A trail that would be easy at home might feel moderate at altitude.
Mistake 4: Trusting one source only.
A park might rate a trail as moderate. A hiking app might call it hard. Cross-reference at least two sources before you go.
Regional Differences in Trail Ratings
The same rating can mean very different things depending on where you hike. Here is a rough guide to how ratings shift across the United States.
Northeast (White Mountains, Adirondacks)
Ratings tend to be conservative. A moderate trail here often includes steep, rocky sections and significant gain. Beginners should start with easy trails and work up slowly.
Southeast (Smoky Mountains, Blue Ridge)
Moderate trails often have steady grades and rooty terrain. Humidity can make hikes feel harder than the numbers suggest.
West Coast (Sierra Nevada, Cascades)
Elevation gain is king. A moderate trail might have 1,500 feet of gain over 4 miles. The trails are often well maintained but steep.
Midwest and Plains
Easy trails are truly flat. Moderate trails may have gentle hills and longer distances. Strenuous trails are rare but can include sand dunes or river bluffs.
Southwest (Desert parks)
Heat and sun add difficulty. A moderate trail in the desert might be short but exposed. Carry extra water even on easy routes.
How to Match a Trail to Your Fitness Level
Your personal fitness is the most important variable. A trail that is easy for a marathon runner might be strenuous for someone who hikes once a year. Be honest with yourself.
If you are new to hiking, start with easy trails. Look for:
- Distance under 3 miles
- Elevation gain under 300 feet
- Smooth, wide paths
After a few easy hikes, try a moderate trail. You should feel challenged but not exhausted. If you finish a moderate hike and still have energy for more, you are ready for longer or steeper routes.
For intermediate hikers, moderate trails with some technical features are a great sweet spot. They offer enough challenge to build skills without overwhelming you.
If you regularly hike moderate trails and want to push yourself, look for strenuous routes with moderate distance. A 5-mile strenuous hike with 2,000 feet of gain is a good step up.
Putting It All Together on Your Next Hike
The next time you plan a hike, do not stop at the rating. Use the three core factors: distance, elevation gain, and terrain. Cross-reference at least two sources. Read recent reviews. Check the weather.
If you follow this approach, you will almost never pick a trail that is too hard or too easy. You will spend more time enjoying the view and less time wondering if you made a mistake.
For more help choosing your next adventure, check out our guide on how to choose the right hiking trail for your fitness level. If you are just getting started, our list of best hiking trails for beginners is a great place to begin.
Your Trail Rating Cheat Sheet for 2026
Keep this short reference handy when you browse trails.
- Easy: Under 3 miles, under 500 ft gain, smooth surface. Good for families and beginners.
- Moderate: 3 to 7 miles, 500 to 1,500 ft gain, some uneven ground. Good for regular hikers.
- Strenuous: Over 7 miles, over 1,500 ft gain, steep or technical sections. For experienced hikers only.
- Always check the elevation profile. It tells you more than the rating ever will.
- When in doubt, go easier. A trail that feels too short is better than one that leaves you stranded.
Take the Guesswork Out of Your Next Hike
Trail ratings are a helpful starting point, but they are not the final word. By learning what goes into each rating and how to evaluate a trail for yourself, you gain the confidence to try new routes without fear of overdoing it.
Next time you open a hiking app or a park map, spend two minutes checking the numbers. Your legs will thank you at the end of the day. And you will come home with a smile, ready to plan the next one.










Leave a Reply