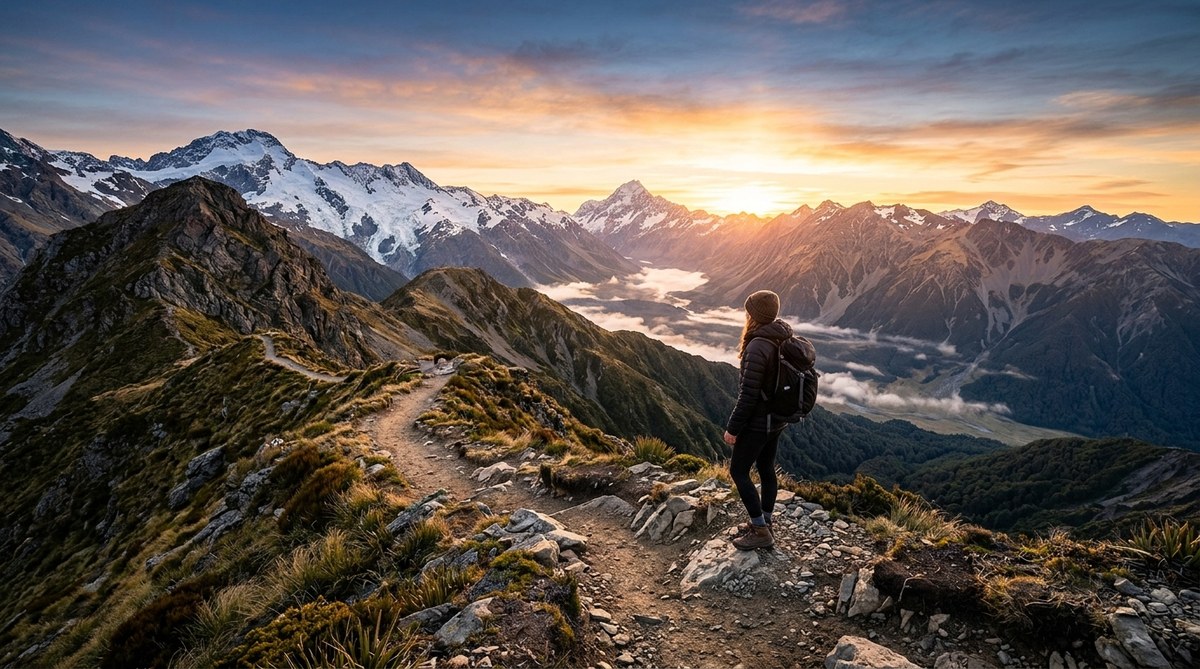
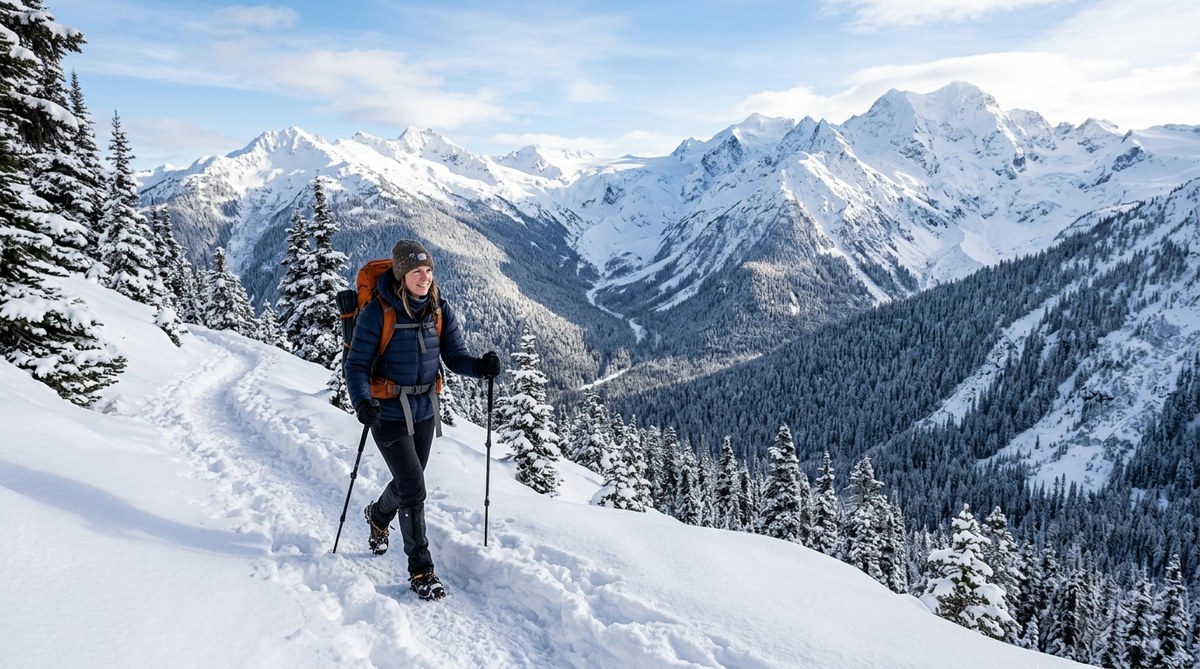
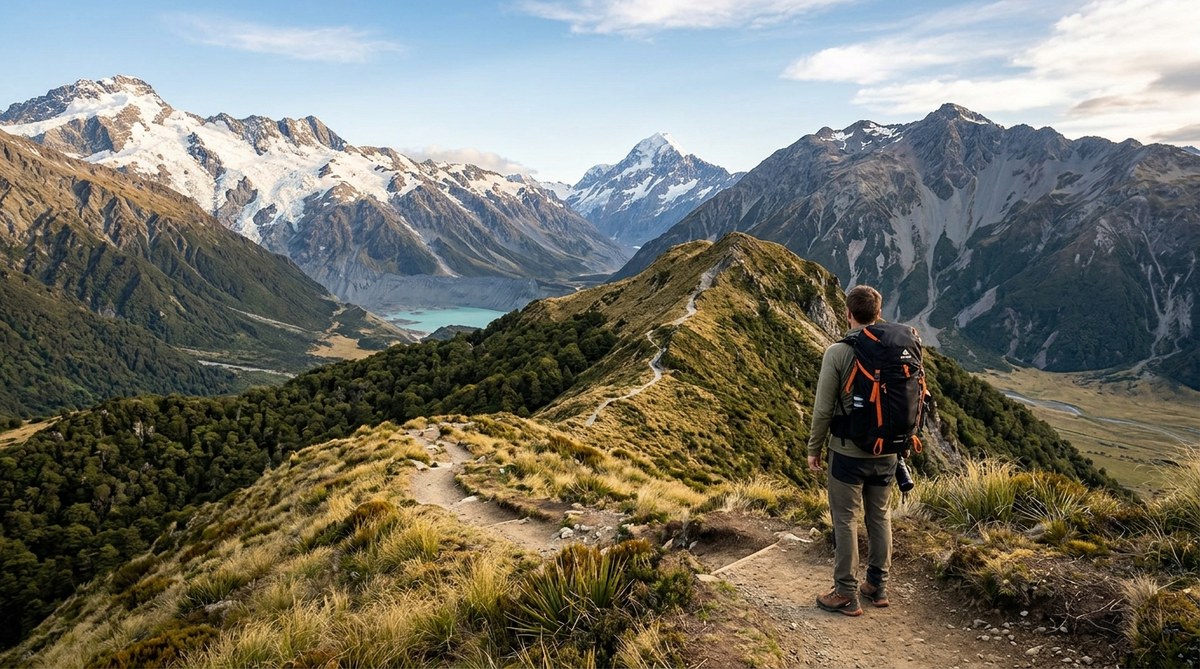
Summit views and fresh mountain air call to all of us, but picking the wrong trail can turn a great day into a slog. Whether you are lacing up for your first hike or looking to level up, matching the trail to your fitness level makes all the difference. The right trail keeps you safe, builds confidence, and lets you soak in the scenery instead of gasping for breath. No one wants to be the person who underestimated a 10-mile climb with 2,000 feet of elevation gain. This guide will help you choose the perfect path every time, starting with an honest look at where you are today.
Choosing a hiking trail for your fitness level is about matching your current ability to trail difficulty ratings, distance, elevation gain, and terrain. Start with short, low-elevation trails rated easy. Use official grading systems, read recent trip reports, and build up distance and elevation slowly to avoid injury and stay motivated.
Why Matching Trail Difficulty Matters
Picking a trail that fits your physical ability is not just about comfort. It is about safety. Hiking underprepared can lead to injuries, dehydration, or getting stuck after dark. On the flip side, a trail that is too easy leaves you bored and unchallenged. The sweet spot lies where the hike feels doable but still pushes you just enough to improve your endurance.
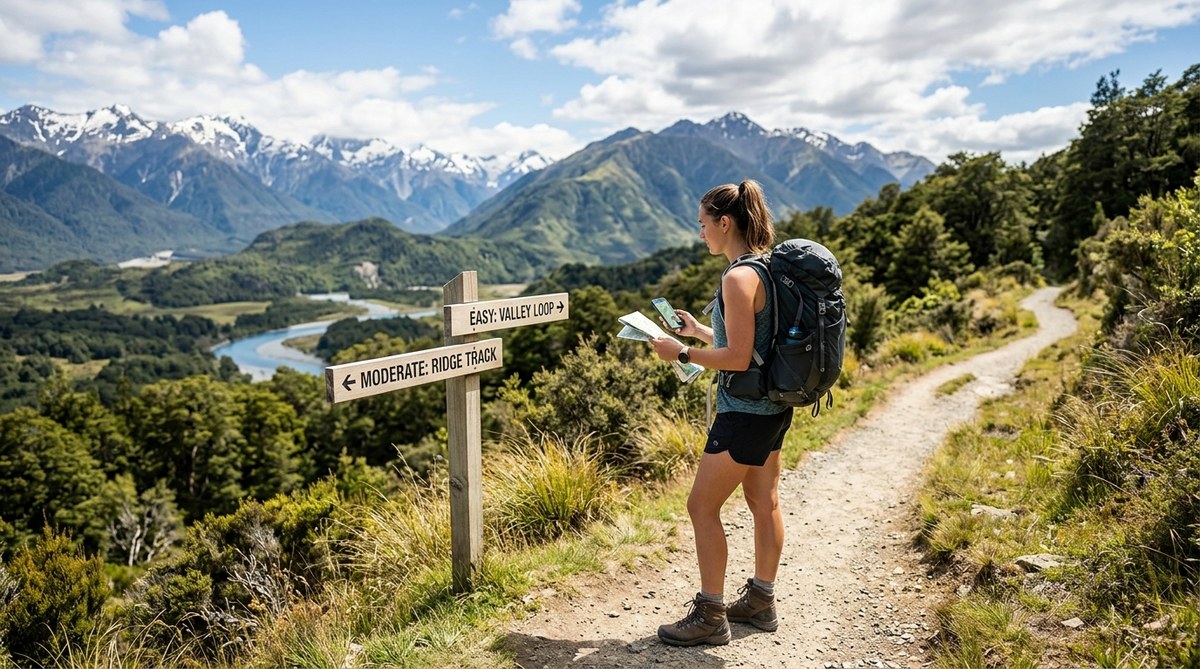
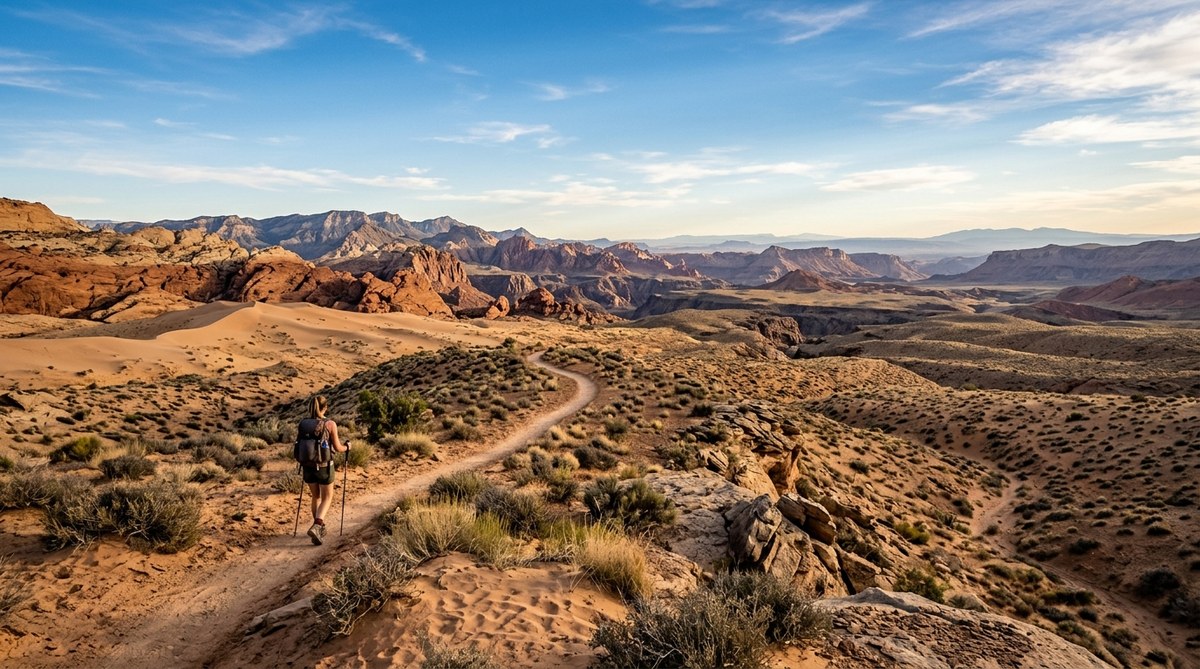
A lot of beginners make the mistake of choosing a trail based on beautiful photos alone. That turquoise lake at the end of a 12-mile route with 3,000 feet of climbing looks amazing on Instagram, but it can crush a casual hiker. Start with a short, scenic trail and work your way up. For an overview of stunning options that fit a range of abilities, check out our list of best hiking trails for beginners.
Understanding Trail Grading Systems
Most parks and guidebooks use a simple system to label trail difficulty. The scale usually runs from easy to strenuous, but the exact names vary. The table below breaks down the typical ratings and what they mean for your body.
| Difficulty | Distance | Elevation Gain | Terrain | Who It’s For |
|---|---|---|---|---|
| Easy | Under 3 miles | Under 500 ft | Paved or packed dirt, mostly flat | Anyone new to hiking, families, older adults, casual walkers |
| Moderate | 3 to 6 miles | 500 to 1,500 ft | Uneven ground, some hills, maybe rocks | Regular walkers, intermediate hikers, people with basic fitness |
| Hard | 6 to 10 miles | 1,500 to 3,000 ft | Steep slopes, loose rocks, stairs, stream crossings | Experienced hikers with good cardio and leg strength |
| Strenuous | 10+ miles | 3,000+ ft | Technical terrain, scrambling, exposure | Very fit hikers, trail runners, backpackers with training |
Trail ratings are a starting point, but they are not perfect. A “moderate” trail in a flat state might feel easy compared to a “moderate” trail out West with constant switchbacks. Always cross-check with trip reports. You can also learn more about how to evaluate a hiking trail’s difficulty rating to avoid surprises.
A Step-by-Step Process to Choose the Right Trail
Follow these steps before you hit the trailhead. They will save you from regret and blisters.
- Assess your current fitness honestly. Think about your usual activity level. Do you walk 30 minutes a day? Run three times a week? Can you climb a few flights of stairs without getting winded? Be real. Your ego does not need to come on this hike.
- Read the stats. Look at total distance, elevation gain, and highest point. Elevation gain matters more than distance for difficulty. A 5-mile flat loop is far easier than a 3-mile trail that climbs 1,000 feet.
- Check recent trip reports. Conditions change with weather, seasons, and trail maintenance. A report from last week can tell you about mud, snow, downed trees, or tricky creek crossings. Many apps and websites let you filter by date.
- Start low and slow. Pick a trail rated one level below what you think you can handle. If you are a moderate hiker, try an easy+ or moderate trail. You can always go longer next time.
- Plan for time, not just distance. A standard rule is to add 30 minutes per mile plus an extra hour for every 1,000 feet of climb. If you are slow or take breaks, double that estimate.
- Bring more water than you think you need. Dehydration hits harder at altitude and on sunny days. A general guide is 0.5 liters per hour of hiking.
- Tell someone your plan. Leave your route and expected return time with a friend or family member. This basic step can be a lifesaver.
If you want to find hidden trails that are less crowded and often easier on the body, take a look at off-the-beaten-path hiking trails for your next adventure.
Common Mistakes That Derail a Good Hike
Even experienced hikers make these errors. Avoid them to keep your hike fun and safe.
- Choosing a trail based only on mileage. A short, steep trail can be harder than a long, flat one. Always look at elevation gain and terrain type.
- Ignoring weather forecasts. Summer thunderstorms roll in fast over mountains. Rain turns dirt into slick mud. Heat waves raise your water needs.
- Skipping the warm-up. Your muscles perform better after a few minutes of stretching or a slow walk. Jumping straight into climbing strains your calves and knees.
- Bringing a new pair of boots without breaking them in. Blisters are the number one reason people cut hikes short. Wear your boots for a week around town first.
- Overpacking or underpacking. A heavy pack slows you down. But leaving behind essentials like a first aid kit or extra layers is risky. Aim for a balance.
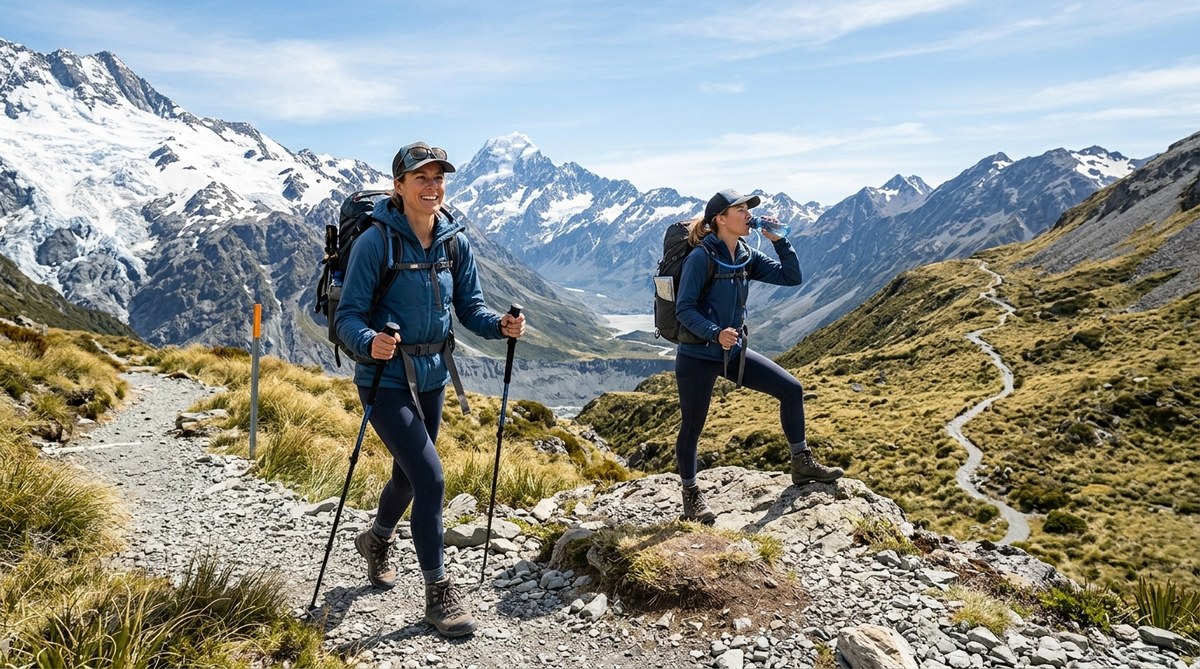
Expert Advice on Pacing Yourself
“The biggest mistake I see on the trail is people starting too fast. They sprint the first mile, then hit a wall. A sustainable pace is one where you can hold a conversation without gasping. If you are alone, hum a tune. If you cannot hum, you are going too hard.”
— Maria Castro, certified hiking guide and founder of Trail Wise Adventures
Listen to your body. If your heart is pounding or your legs feel shaky, stop. Take a break, drink water, eat a snack. The trail will still be there. There is no shame in turning around early. Some of the best hikes are the ones where you came back feeling energized, not wrecked.
Special Considerations for Older Adults and Varying Fitness Levels
Age is not a barrier, but it does mean adjusting expectations. If you are an older adult or have joint concerns, focus on trails with gentle grades, well maintained surfaces, and frequent benches or rest spots. Look for trails under 3 miles with less than 500 feet of climb. Use trekking poles to reduce strain on knees.
If you have a chronic condition like asthma or heart issues, talk to your doctor before any hike. Carry your medication and know the nearest hospital or ranger station along the route. Hiking with a partner is especially important in these cases.
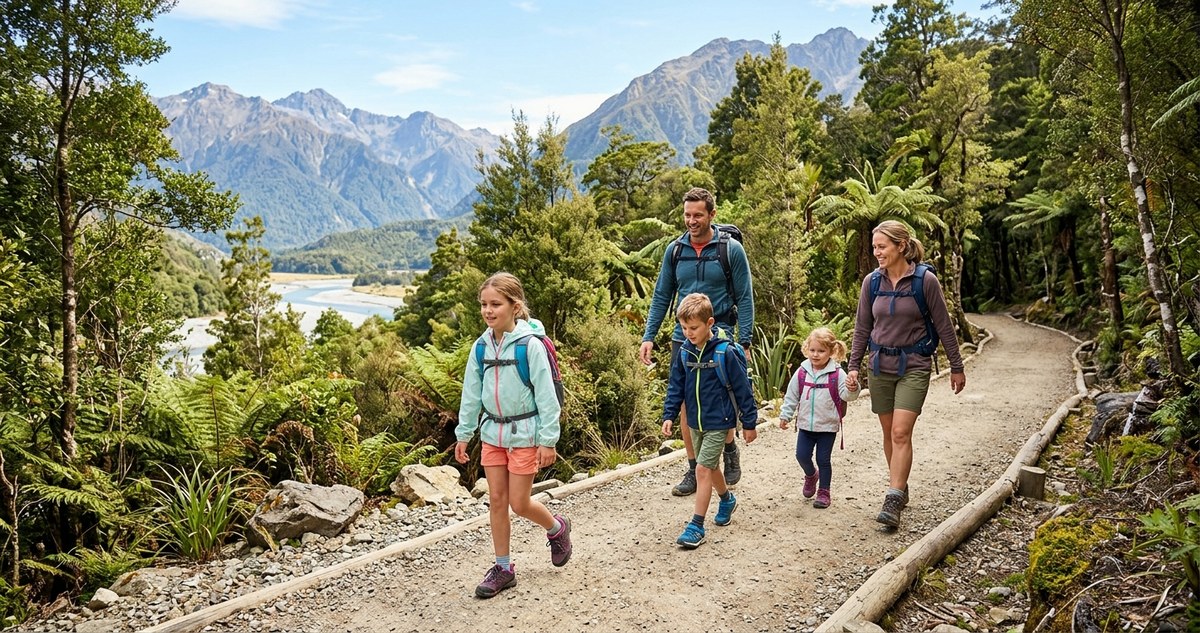
For families or groups with mixed fitness levels, choose a trail where everyone can find their own pace. A loop with a short cut option or a destination with a wide viewpoint works well. Check out family-friendly hiking trails that kids will love for more ideas.
Building Up Your Trail Fitness Over Time
You do not need to run a marathon to become a better hiker. Small weekly steps add up. Walk on uneven terrain in a local park. Use stairs or a treadmill at an incline. Carry a loaded daypack on short walks to build leg and core strength. Stretch your calves, hamstrings, and hips after every hike.
Tracking your progress helps. Keep a simple log of trails you complete: distance, elevation, how you felt. After a few outings, you will see patterns. You can then confidently step up to a harder rating. For gear that supports your growth, read our top tips for choosing durable and lightweight hiking gear.
Putting It All Together on Your Next Hike
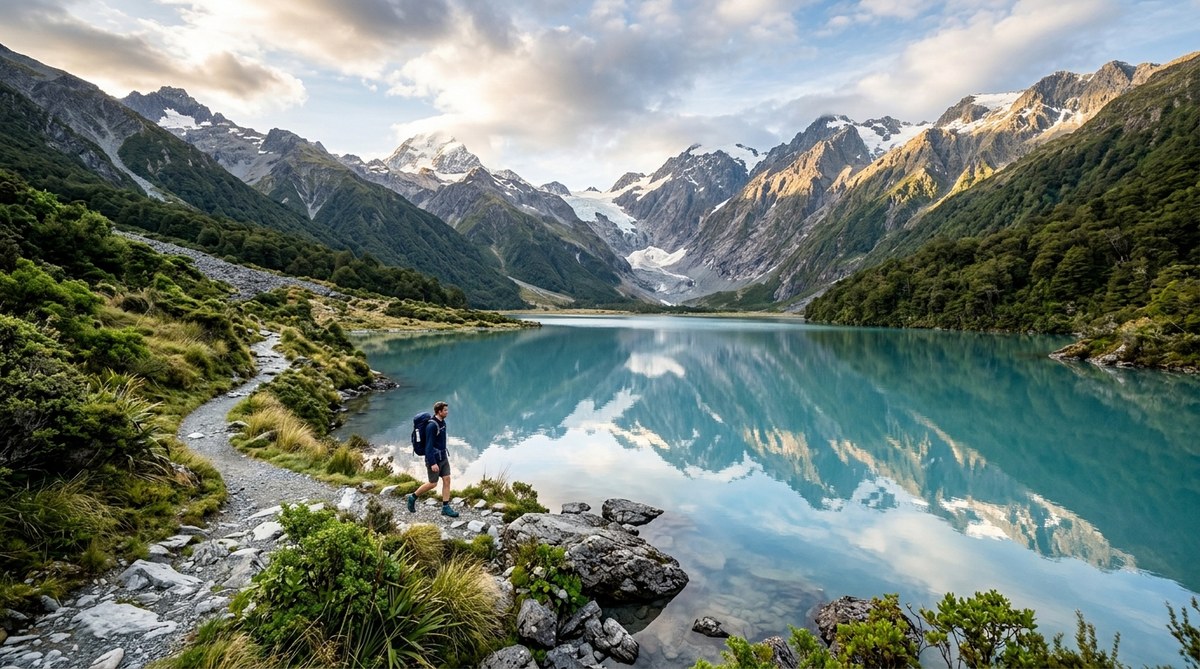
The best trail for you is the one that leaves you smiling, not limping. Start small, read ratings with a critical eye, and check conditions. Be honest with yourself, and do not compare your pace to others. Every hiker started somewhere. Your next adventure could be a gentle river walk or a moderate ridge line. The key is to match the trail to your fitness level today, not the level you want to reach next year.
So grab your boots, fill your water bottle, and pick a trail that fits. Your body will thank you, and the mountains will welcome you back again and again.

Leave a Reply