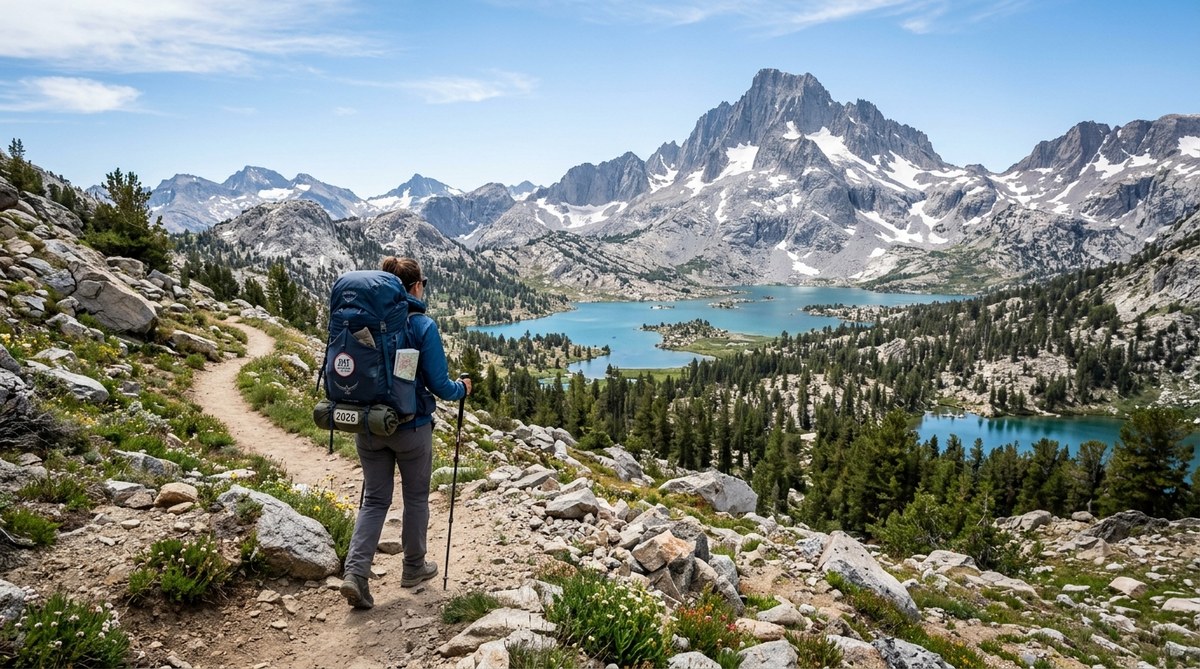
The Appalachian Trail stretches more than 2,190 miles from Georgia to Maine. Each year, thousands of hikers set out to walk it from end to end. Many of them go alone. If you are thinking about a solo hike on the AT, you are not alone in wanting solitude. The trail offers a rare chance to challenge yourself, reset your mind, and meet a community of people who share your love for the outdoors. But planning a solo trip takes more than just packing a bag. You need a solid plan, the right gear, and a healthy respect for the wild. This guide will walk you through everything you need to know for a safe and rewarding Appalachian Trail solo hike.
A solo Appalachian Trail hike is achievable with careful preparation. Focus on three pillars: planning your route and timeline, choosing lightweight gear that works for you, and building safety habits like sharing your itinerary and carrying a personal locator beacon. Start with a section hike if you are new. Listen to your body. And remember, the trail community is friendly. You will meet people even when hiking solo.
Why Hike the Appalachian Trail Solo?
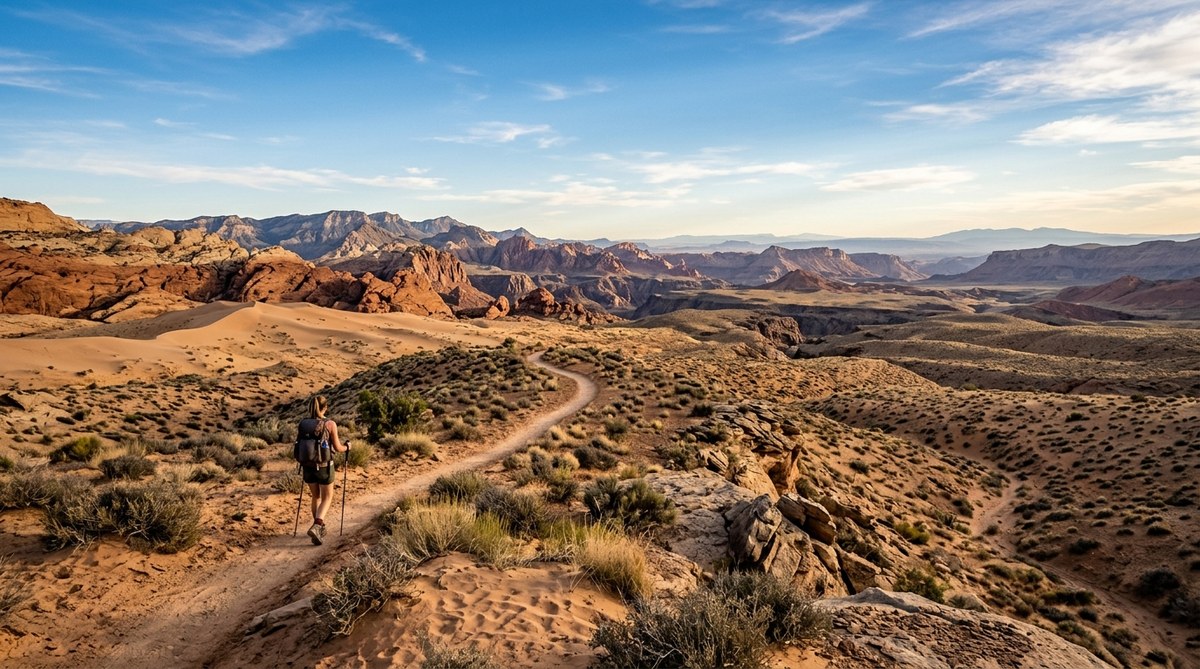
Hiking alone on the AT is different from hiking with a group. You set your own pace. You decide when to stop, when to push on, and where to camp. The quiet gives you space to think. Many solo hikers say they come off the trail with a clearer head and a stronger sense of what they can handle.
Solo hiking also teaches you self reliance. You learn to read a map, filter water, handle weather shifts, and fix gear problems on your own. Those skills stay with you long after the hike ends.
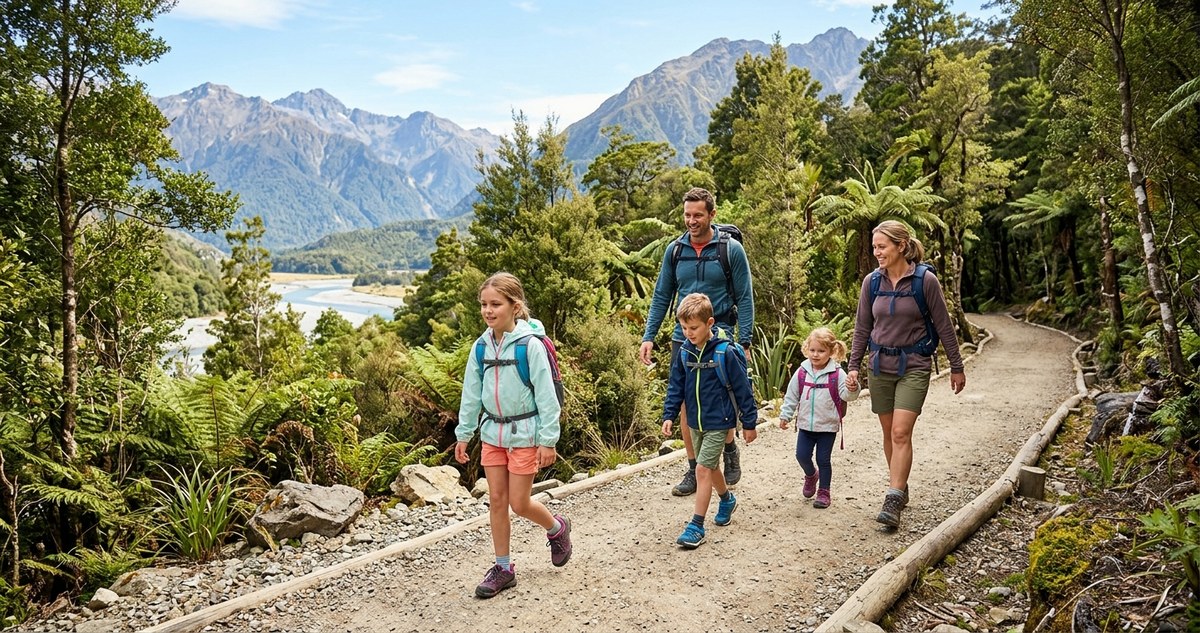
There is a social side too. The AT is known for its trail community. Solo hikers often find themselves hiking alongside others for a day or two, then peeling off on their own again. You get company when you want it and solitude when you need it. That balance is hard to find anywhere else.
Step-by-Step Planning for Your Solo AT Hike
Follow these steps to build a solid plan for your Appalachian Trail solo hike. Each step builds on the last one.
-
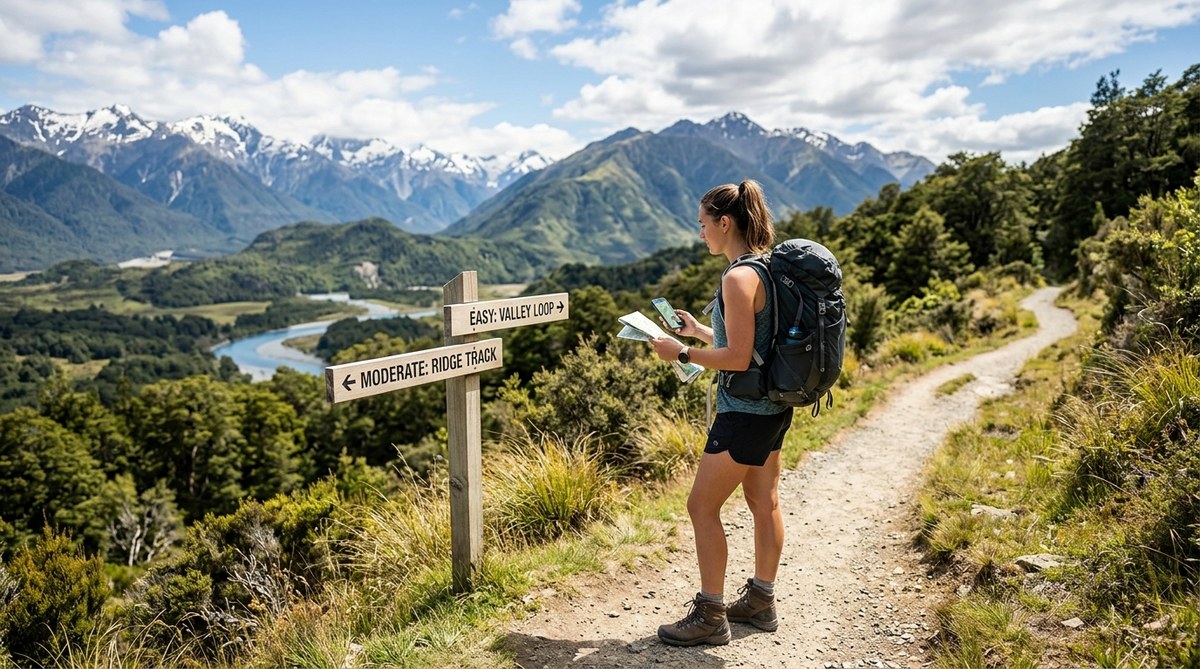
Choose your hike type and season. Decide if you want a thru hike (the whole trail in one go) or a section hike (a shorter portion). For first timers, a section hike of two to four weeks is a great way to test your systems. The prime hiking season runs from March through October. Northbound thru hikers usually start in March or April. Southbound hikers start in June or July. If you want fewer crowds, consider a flip flop hike starting in the middle.
-
Set a realistic daily mileage. Most beginners overestimate how far they can hike each day. Aim for 8 to 12 miles per day for the first week. Your body needs time to adjust. After two weeks, many hikers settle into a rhythm of 12 to 16 miles per day. Terrain and weather will affect this. The AT is rocky in Pennsylvania, steep in New Hampshire, and muddy in Vermont. Plan for slower days in those sections.
-
Plan your resupply strategy. The AT passes near many towns, so you can buy food every three to seven days. Use a guide like the A.T. Guide or the FarOut app to see where towns are located. Mail drops work too, but they require advance planning. Most hikers find it easier to buy food along the way. Just check store hours. Some towns have limited options.
-
Book your start and end logistics. You need to get to the trailhead and get home again. If you are hiking a section, leave a car at one end or use a shuttle service. Many hostels near the trail offer shuttle rides for a fee. For a thru hike, plan how you will get to Springer Mountain (Georgia) or Mount Katahdin (Maine). Flying into Atlanta and taking a shuttle is common for northbound hikers.
-
Prepare your gear list and test it. Do not take gear on a long hike that you have never used. Set up your tent in the backyard. Cook a meal on your stove. Sleep on your sleeping pad for a few nights. This is also a good time to read through some top tips for planning a safe and enjoyable trail hike to catch any gaps in your preparation.
-
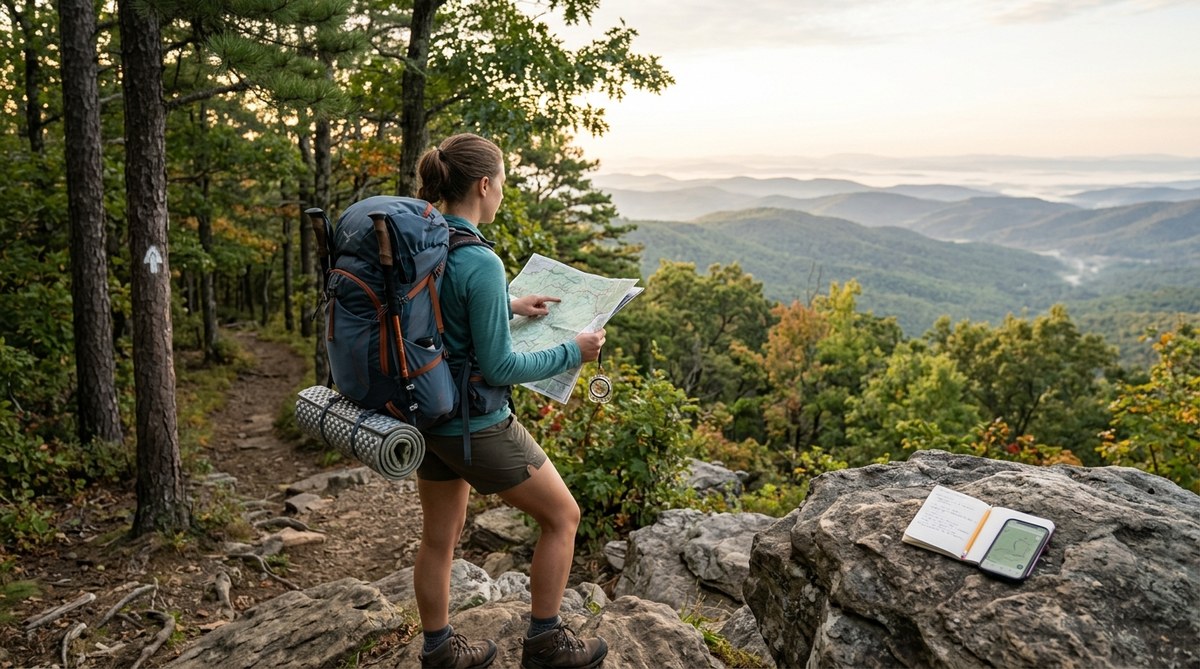
Share your itinerary. Before you leave, give a trusted person your full plan. Include your start date, daily route, resupply points, and expected end date. If you change plans, update them. This is your most important safety net.
Gear Essentials for the Solo Hiker
Your gear list for a solo AT hike should be lightweight but complete. Every ounce matters when you are carrying everything on your back. Here are the essentials every solo hiker should carry.
- Shelter: A one person tent or a tarp with a bivy sack. Target a shelter weight under two pounds. Many solo hikers prefer a trekking pole tent to save weight.
- Sleep system: A sleeping bag or quilt rated to 20 degrees Fahrenheit, plus an insulated sleeping pad. The pad is as important as the bag for warmth.
- Backpack: Aim for a pack between 40 and 55 liters. Make sure it fits your torso length. A good fit prevents shoulder pain.
- Cook system: A small canister stove, one titanium pot, and a spoon. No need for a bulky kitchen setup.
- Water filtration: A squeeze filter or a gravity system. The AT has plenty of water sources, but you must treat everything.
- Navigation: A physical map and compass, plus a phone with a backup app. Do not rely on your phone alone. Batteries die and screens break.
- Safety items: A personal locator beacon or a satellite messenger. This is non negotiable for solo hikers. It lets you call for help when you have no cell service.
- Clothing: A rain jacket, an insulating puffy layer, a sun hat, and two pairs of hiking socks. Wool or synthetic fabrics only. No cotton.
- First aid and repair kit: Bandages, blister treatment, ibuprofen, duct tape, and a small sewing kit. These items weigh almost nothing and can save your trip.
For a deeper look at what to pack, check out this guide on essential outdoor gear every hiker should pack for long trails. It covers the full list of items you will need for an extended hike.
Safety Strategies for Solo Hikers
Safety is the biggest concern for first time solo hikers. The truth is that the AT is a relatively safe trail. Thousands of people hike it alone each year. But you still need to plan for the risks that come with being in the backcountry by yourself.
The table below breaks down the most common risks and how to handle them.
| Risk | What Can Happen | How to Stay Safe |
|---|---|---|
| Injury (sprained ankle, fall) | You are alone and far from help. | Carry a satellite messenger. Learn basic first aid. Hike at a pace that feels controlled. |
| Weather (hypothermia, heat stroke) | Temperatures shift fast in the mountains. | Check the forecast daily. Carry extra insulation. Know the signs of hypothermia. |
| Navigation error (getting lost) | Trail blazes are easy to miss in fog or snow. | Use a map and compass. Download offline maps on your phone. Stop and reorient often. |
| Wildlife encounter (bear, moose) | Surprising a large animal can be dangerous. | Store food in a bear canister or hang it. Make noise while hiking. Give animals space. |
| Waterborne illness (Giardia) | Drinking untreated stream water causes stomach problems. | Filter or boil all water. Carry backup purification tablets. |
| Loneliness or low morale | Solo hiking can feel isolating on hard days. | Call a friend from town. Take a zero day to rest. Remember why you started. |
"The best advice I got before my solo thru hike was this: listen to your gut. If a situation feels off, it probably is. The trail will still be there tomorrow. You do not have to prove anything to anyone." -- Sarah "Stride" Kline, 2025 AT thru hiker
One more thing about safety. Many solo hikers worry about people on the trail. The AT community is overwhelmingly kind and helpful. But trust your instincts. If you feel uncomfortable around someone, pack up and move on. You never need a reason to protect your peace.
Common Mistakes First-Time Solo Hikers Make
Even experienced hikers make mistakes when they go solo for the first time. Here are the most common ones and how to avoid them.
Carrying too much gear. Solo hikers often pack for every possible scenario. The result is a 50 pound pack that makes hiking miserable. Keep your base weight under 20 pounds if you can. Every extra item should earn its place.
Skipping the shakedown hike. A shakedown hike is a short overnight trip where you test all your gear. Do this before your AT trip. You will find problems with your stove, your tent stakes, or your sleeping pad before you are miles from a store.
Not planning for bad weather. The AT gets rain. It gets wind. It gets cold even in summer. Pack your rain gear where you can reach it. Practice setting up your tent in the rain. Being wet and cold for hours is miserable and dangerous.
Hiking too many miles too soon. Your body needs time to adapt. Start with short days and build up. Stress fractures, tendinitis, and severe blisters often happen in the first two weeks because people push too hard.
Forgetting to eat enough. Solo hikers sometimes skip meals because they are tired or in a hurry. Your body needs 3,000 to 5,000 calories per day on a long hike. Set alarms if you need to. Eat before you get hungry.
If you want to avoid trail problems before they happen, check out these essential camping hacks for a stress-free outdoor experience. Small tricks with your setup, your food, and your gear can make a big difference.
Navigation and Trail Resources
Staying on track is easier than you think, but you need the right tools. The AT is marked with white blazes painted on trees and rocks. When you see two white blazes stacked, it means a turn or a change in direction. Pay attention to those.
Here are the resources you should carry.
- FarOut app: This is the most popular trail navigation app for long distance hikers. It shows your location on the trail, water sources, campsites, and town info. Download the AT section before you go. The app works offline.
- A.T. Guide (by David Miller): This pocket sized guide lists elevation profiles, water sources, shelters, and town services for the entire trail. Many hikers use it alongside FarOut.
- Physical maps: Carry the official maps from the Appalachian Trail Conservancy. They are waterproof and show the trail in detail. Use them as a backup.
- Guthook (now FarOut) comments: The app includes user comments about water reliability, campsite quality, and trail conditions. Read those comments before you make decisions.
Navigation is a skill you build over time. If you are new to map reading, take a class or practice on shorter hikes first. This guide on top tips for navigating hidden mountain trails safely has practical advice for building those skills before you head out.
Your Solo Adventure Starts Now
Planning an Appalachian Trail solo hike is a process. It involves gear lists, route decisions, and a lot of small details. But the effort pays off the moment you step onto the trail with everything you need on your back and a plan in your pocket.
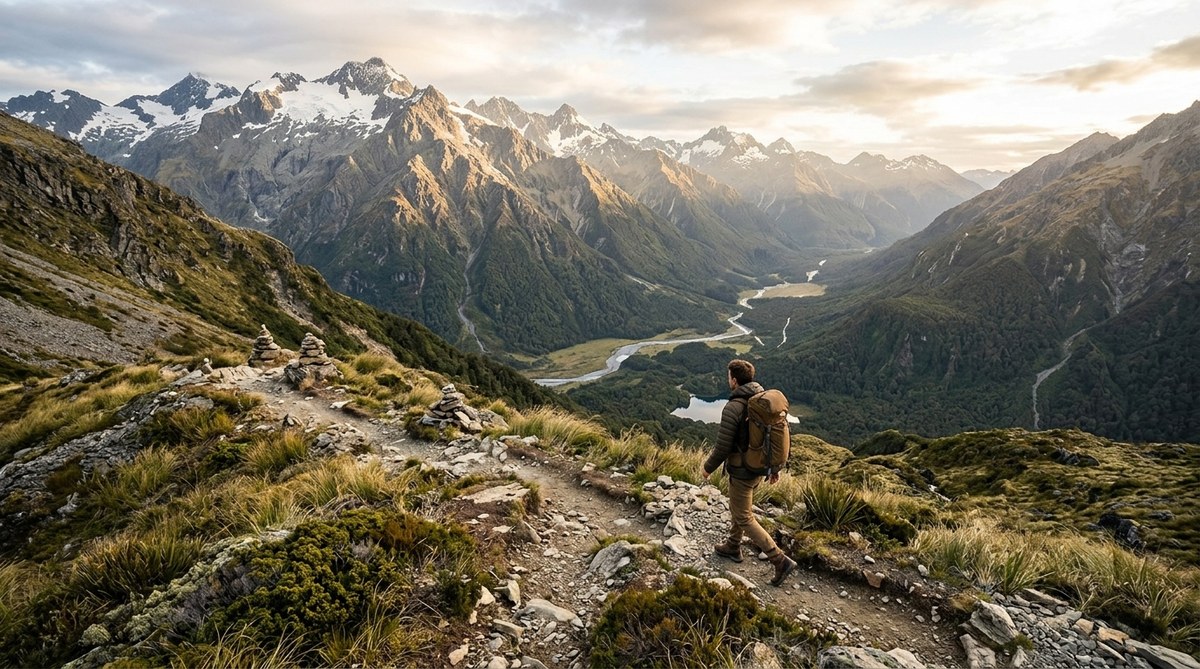
Start small if this is your first time. Pick a two week section in a state you know. Test your systems. Learn what works for your body. Then build from there. The AT is not going anywhere. You can always come back for the rest.
The trail will challenge you. It will also reward you with sunsets from mountain balds, quiet mornings by a stream, and the simple satisfaction of walking into town after a week in the woods. That feeling is worth every bit of planning.
If you want more ideas on where to start, take a look at these best hiking trails for beginners to start your outdoor adventure today. Many of them make perfect warm ups for a longer AT trip.
Get your gear ready. Share your plan with someone you trust. And then take that first step. The trail is waiting for you.

Leave a Reply