
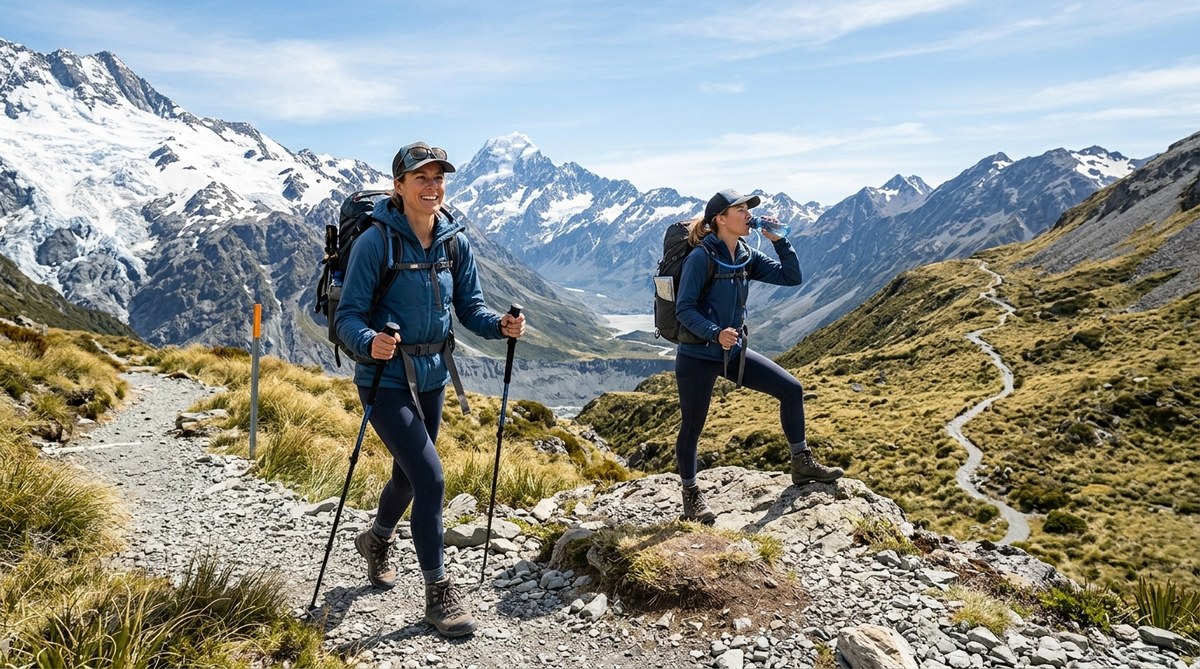
You have been dreaming about that big mountain trek for months. The photos look unreal. The trail climbs above 10,000 feet. You feel ready for the physical challenge, but there is one thing that keeps nagging at you: altitude sickness. It is a real concern, and it can stop even the fittest hiker cold. The good news is that you can stack the odds in your favor. With the right high-altitude hike preparation, you can keep your head clear and your legs moving.
Preventing altitude sickness starts weeks before you hit the trail. Focus on gradual acclimatization, not just cardio. Sleep at moderate elevations, hydrate aggressively, and keep your pace slow on summit day. Avoid alcohol and sedatives at altitude. If symptoms like headache, nausea, or dizziness appear, do not push higher. Descending 1,000 feet almost always resolves the problem.
Why Your Body Freaks Out at High Elevation
Think of your body as a finely tuned engine. At sea level, it gets plenty of oxygen. When you drive up to 8,000 or 12,000 feet, the air pressure drops. Each breath contains fewer oxygen molecules. Your body panics a little. It starts breathing faster. Your heart pumps harder. For most people, this adjustment is uncomfortable but manageable. For others, it turns into acute mountain sickness (AMS).
The symptoms feel like a brutal hangover. Headache. Nausea. Fatigue. Dizziness. Loss of appetite. If you ignore those warning signs, things can get worse. Severe altitude sickness leads to confusion, trouble walking, and fluid in the lungs or brain. That is not something to mess with.
The key to high-altitude hike preparation is respecting the process. You cannot rush your body into thin air.
The Golden Rule of Acclimatization
There is one rule that matters more than any gear or training tip. It is simple: climb high, sleep low.
Your body needs time to produce more red blood cells and adjust its chemistry. That does not happen overnight. If you drive straight to a 12,000-foot trailhead and try to sleep there, you are asking for trouble.
Here is how to do it right:
- Spend a night at a moderate elevation first. If your hike starts at 10,000 feet, sleep at 7,000 feet the night before. A nearby town or campground at lower elevation works perfectly.
- Do not gain more than 1,000 feet of sleeping elevation per day. After you sleep at 10,000 feet, your next camp should be no higher than 11,000 feet.
- Take a rest day every 3,000 feet. If you reach 12,000 feet, spend a full day there before going higher. Go for a short walk. Let your body catch up.
This slow approach feels frustrating when you want to bag a summit. But it is the single most effective strategy for high-altitude hike preparation. Rushing is the fastest way to turn around early.
Hydration: Your Secret Weapon
Dehydration mimics altitude sickness. It also makes real altitude sickness worse. The dry mountain air pulls moisture out of your lungs with every exhale. You lose water faster than you realize.
Aim for 3 to 4 liters of water per day when you are above 8,000 feet. That sounds like a lot, and it is. Carry a hydration bladder so you can sip constantly without stopping. Add electrolyte packets to your second liter. Your body needs sodium, potassium, and magnesium to keep muscles and nerves working right.
Avoid alcohol entirely during your hike. It dehydrates you and depresses your breathing, which is the last thing you want when oxygen is scarce. Save the celebratory beer for when you are back at sea level.
Pacing: The Tortoise Wins Every Time
You have probably seen them on the trail. Someone charges up a steep section at sea level pace. By the time they reach the ridge, they are bent over, gasping, and holding their head. That is a classic altitude mistake.
At elevation, your sustainable pace drops by 30 to 50 percent. Accept that now. Plan your hike with a pace that lets you hold a conversation. If you cannot speak in full sentences without gasping, you are moving too fast.
Use the rest step technique on steep climbs. Pause for a breath with each step. It feels awkward at first, but it keeps your heart rate lower and your oxygen levels higher. This single adjustment can make the difference between a great day and a trip ending headache.
What to Eat (and What to Skip)
Your appetite often disappears at altitude. That is a problem. Your body needs fuel to adapt and keep warm. You need to eat even when you do not feel hungry.
Focus on high-carbohydrate foods. Your muscles burn carbs more efficiently than fat at elevation. Think oatmeal, granola, energy bars, instant rice, and crackers. Pack foods that are easy to chew and digest. A bag of trail mix or a tortilla with peanut butter works better than a heavy sandwich.
Avoid fatty, greasy foods. They sit in your stomach and make nausea worse. Also skip salty snacks that are not balanced with water. Salt is fine, but you need to drink extra to match it.
Medication and Supplements: What Actually Works
Some hikers use medication to prevent altitude sickness. The most common one is acetazolamide, also known as Diamox. It speeds up acclimatization by making your blood more acidic, which triggers faster breathing. Many mountaineers swear by it.
Talk to your doctor about Diamox if you are worried about altitude sickness. A typical dose starts one day before you go high and continues for two days at elevation. Side effects include tingling fingers and a weird taste in your mouth, but most people find it tolerable.
Gingko biloba and other herbal supplements have mixed evidence. Do not rely on them. Ibuprofen can help with headache, but it does not treat the underlying problem. If you need painkillers to keep going, that is a red flag.
A Practical Checklist for Your Trip
Use this table to track your preparation. It covers the key differences between smart moves and common mistakes.
| Smart Strategy | Common Mistake |
|---|---|
| Sleep at 7,000 feet before a 10,000 foot hike | Drive from sea level to trailhead and sleep at 10,000 feet |
| Drink 3 to 4 liters of water with electrolytes | Rely on coffee and soda for hydration |
| Walk at a conversational pace | Push hard to keep up with faster hikers |
| Eat carbs even when not hungry | Skip meals because of low appetite |
| Take a rest day every 3,000 feet of gain | Summiting on day two without any rest |
| Descend if symptoms get worse | Take painkillers and keep climbing |
Signs You Need to Turn Around
Knowing when to stop is part of high-altitude hike preparation. You need a clear plan for what to do if symptoms hit.
Mild symptoms: You have a slight headache and feel tired. Stop climbing. Drink water. Eat a snack. Rest for 30 minutes. If the headache fades, you can continue slowly. If it gets worse, head down.
Moderate symptoms: You have a bad headache, feel sick to your stomach, and cannot keep food down. This is not the time to push through. Descend at least 1,000 feet. You will almost always feel better within a few hours.
Severe symptoms: You cannot walk in a straight line. You feel confused. You have trouble breathing at rest. This is a medical emergency. Descend immediately and get help. Do not wait.
“The mountain will still be there tomorrow. Your health might not be. There is no shame in turning around. I have turned around at 14,000 feet and lived to hike another day. Some of my best trips started with a decision to go down.” Experienced high-altitude guide, Rocky Mountain National Park
Training for Altitude Before You Leave
You cannot train your body to handle low oxygen by running at sea level. But you can build cardiovascular fitness and leg strength that make the hike easier. A fit hiker uses less oxygen at a given pace than an unfit one.
Focus on stair climbing, incline treadmill walks, and weighted pack carries. Do long, slow endurance sessions rather than sprints. Your goal is to build aerobic efficiency, not raw speed.
If you live near hills, hike them with a loaded pack. Practice the rest step. Get your legs used to moving uphill for hours. That muscle memory pays off when you hit thin air.
For a deeper look at matching your fitness to the right trail, check out our guide on how to choose the right hiking trail for your fitness level. It helps you pick a route that challenges you without breaking you.
Gear That Makes a Difference
Your gear choices affect how your body handles altitude. Cold stress makes altitude sickness worse. Warm stress does too. You want to stay in the Goldilocks zone.
Wear layers that you can adjust on the move. A wicking base layer, a mid layer, and a windproof shell work for most conditions. Stop before you get sweaty. If you start shivering, add a layer immediately.
A good sleeping bag rated for the conditions is critical. You sleep poorly when you are cold, and poor sleep slows acclimatization. Bring a sleeping pad with a high R-value to insulate you from the ground.
For a full rundown on what to pack, read our post on essential outdoor gear every hiker should pack for long trails. It covers the basics that keep you comfortable and safe.
Plan Your Route with Acclimatization in Mind
Not all trails are created equal for altitude. Some routes let you ease into it. Others throw you straight into the deep end.
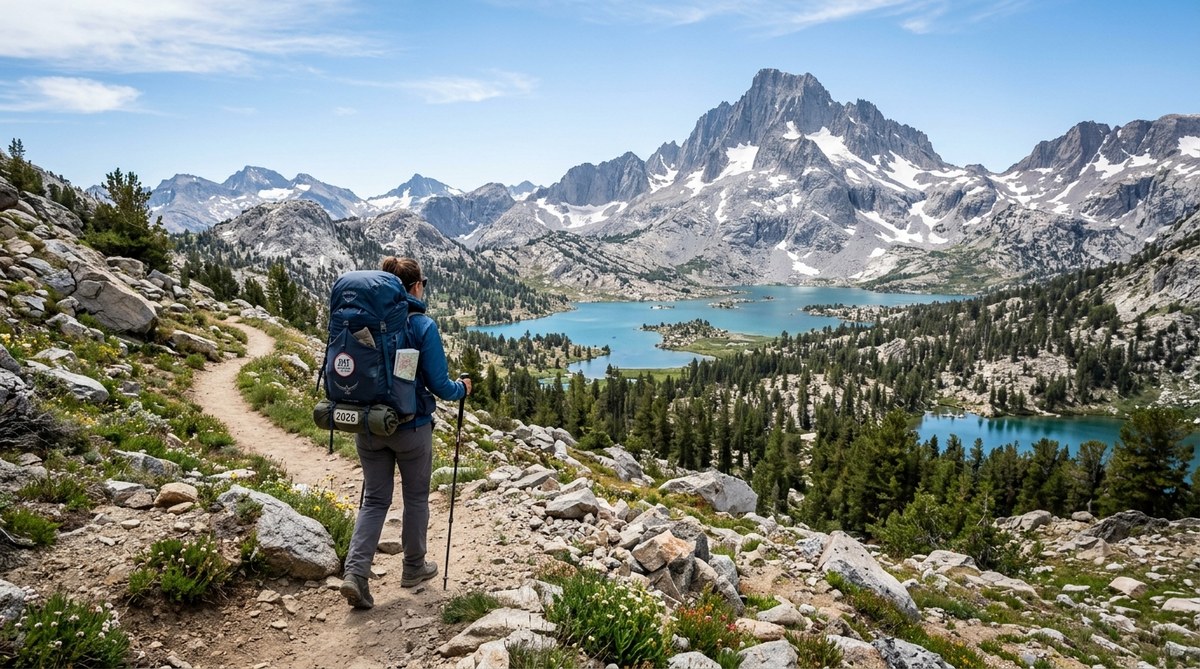
Look for trails that start below 8,000 feet and gain elevation gradually over several days. The classic approach on the John Muir Trail is a good example. You start around 4,000 feet and spend a week climbing to 10,000 feet. That slow ramp gives your body time to adapt.
Avoid routes that require a high pass crossing on day two. If your trip involves a 12,000-foot pass on the second morning, you need to spend extra nights at lower camps before attempting it.
If you are planning a big trip, take a look at how to plan a multi-day hike on the John Muir Trail in 2026. It includes specific camp elevations and pacing advice.
Putting It All Together
Let us walk through a realistic scenario. You are planning a three day hike on a trail that summits at 12,500 feet. The trailhead is at 8,000 feet.
Week before your trip: Start drinking extra water. Cut out alcohol. Do a few long stair climbs with your pack.
Day before: Drive to a campground at 7,000 feet. Sleep there. Eat a carb heavy dinner. Pack your hydration bladder and electrolyte tabs.
Day one: Hike from 8,000 feet to 9,500 feet. Set up camp. Drink water all afternoon. Eat dinner even if you are not hungry. Go to bed early.
Day two: Hike from 9,500 feet to 10,500 feet. Set up camp. Take a short afternoon walk to 11,000 feet and come back down. This is your climb high, sleep low day.
Day three: Summit day. Wake early. Eat breakfast. Start hiking by sunrise. Move at a slow, steady pace. If you feel good at 12,000 feet, keep going. If your head starts pounding, turn around. The summit will wait for another trip.
Your First High-Altitude Hike Starts with Smart Choices
Preparing for a high-altitude hike does not require a medical degree or a fortune in gear. It requires patience, respect for the process, and a willingness to listen to your body. Slow down. Drink water. Sleep low. Eat carbs. Know when to turn around.
If you follow these steps, you give yourself the best chance of reaching the summit with a clear head and a strong body. The views up there are worth the effort. And when you get back down, you will already be planning the next one.
For more inspiration on where to go, browse our list of top 10 must-visit hiking trails in the U.S. for 2026. Some of them climb high, and now you know exactly how to handle it.

Leave a Reply