Circumnavigating the Kiwi
Kaweka Forest Park
- 4 – 5 days loop track
- Medium
About a 4 day trip in the Kaweka Forest Park. I called it this because the route travels around the watershed of the Kiwi Stream. We took a leisurely 5 days to complete this trip, though 4 would be quite sufficient. A fit party could probably cut it out in 3.
This whole area is well provided with huts so a shorter or longer trip could be arranged around this as you prefer
|
Walking time
|
4 – 5 days |
|---|---|
|
Distance
|
45.0km |
|
Type
|
Loop track
|
|
Grade
|
Medium |
|
Bookings
|
No bookings — open access
No — open access
|
|
Starts
|
Kuripapango |
|---|---|
|
Ends
|
Kuripapango |
|
Maps
|
NZTopo50-BJ37
|
|
Altitude
|
500m
–
1,724m
Altitude change 1,224m
|
Kuripapango to Kiwi Saddle Hut
The track begins from a signpost at the northern end of the extensive DOC camping area. It drops to a bridge over a small stream and then immediately begins climbing up the Smith-Russell Track. From here it is a 700m sustained vertical climb along an open ridge to a saddle just behind Kuripapango Hill. One point of interest as you climb is to look out for patched of charcoal in eroded cuttings along the track. This is not from campfires as it looks but the re-exposed remains of bush that was buried here by the Taupo eruption 1800 years ago.
At the top is a junction with the track that comes up from the Lakes car park. A short excursion will take you to the top of the hill on which there is a mast.
Unfortunately the climbing is not over. The track climbs another 100m to point 1360 where you break out of the bush and get a view of the Kaweka ranges beyond. The bush here is a mixture of Native Beech and the invasive weed, Pinus Contorta. It is truly sad how this is taking over the tops in this area.
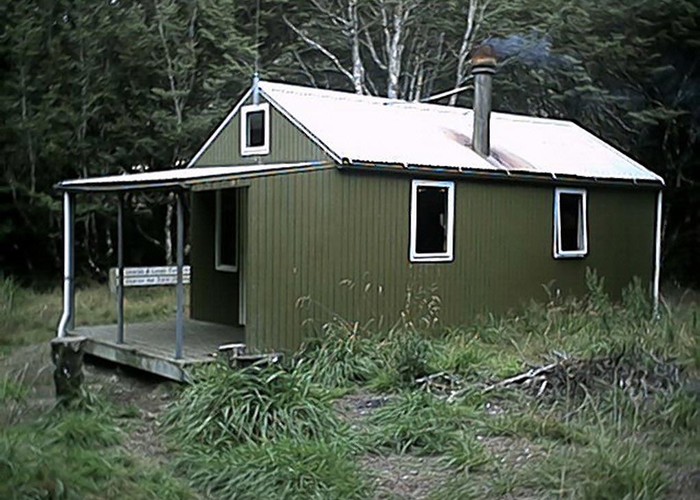
From 1360 there is one more short climb to the junction of the track to Cameron Hut and then a 20min descent to the hut which is just in the bush on the saddle itself.
Kiwi Saddle Hut to Back Ridge Hut
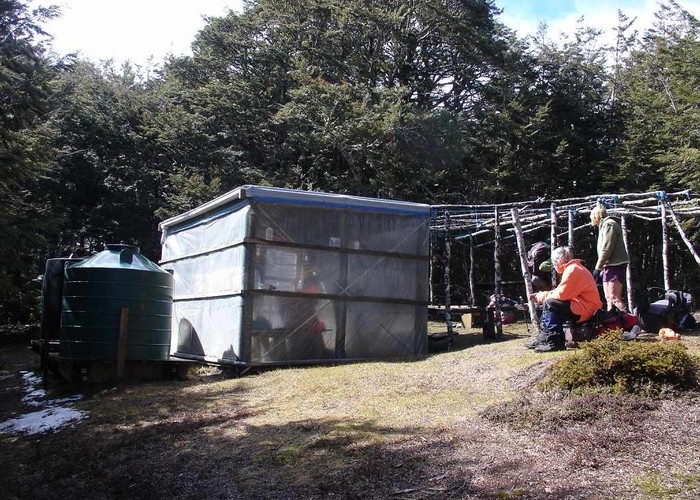
From Kiwi Saddle it is up and down ridge walking until after an hour and a half you pass Castle Camp. There is a temporary construction here for the DOC workers who are working on the Contorta problem. You will see signs of their work next to the track, it is heartening to see that something is being done. The main point of interest at Castle Camp for the tramper will be the two large water tanks. A good chance to fill your water bottle.
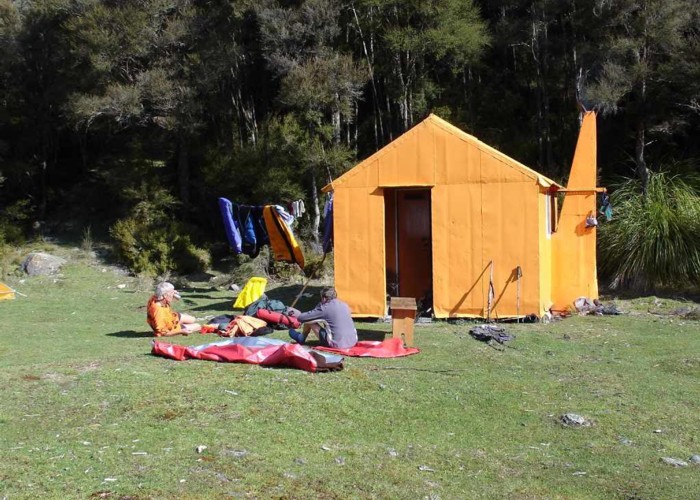
From here the track climbs once again to the top of Kaiarahi. To your left you will see the orange dot of Studholm Saddle Bivy with its attendant outhouse. There is a hut also in this creek but we did not see it from the ridge top.

Be sure to follow the left-hand set of poles just before you reach the top of Kaiarahi. These will lead you into Studholm Saddle, past a turn off to Mackintosh Hut and then further on, as you begin to ascend Mad Dog Hill, a turn off to Studholm Saddle Hut. These are all on aluminum signs of a design that is unique to the Kawekas.
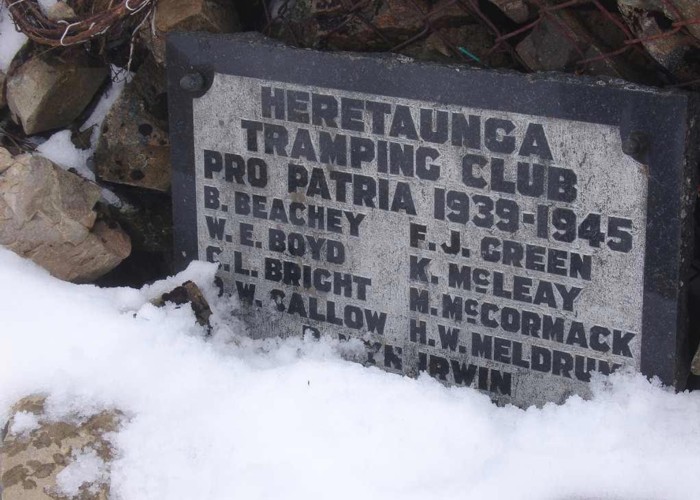
It is a 200m vertical climb to Mad Dog Hill and then another 100m up a wide ridge to the junction of a track leading to Back Ridge. The summit of Kaweka J, the highest point in the Kawekas (1724m) is close by. It is a small knob on a flat plateau marked by a war memorial cairn erected by the Heretaunga Tramping Club.
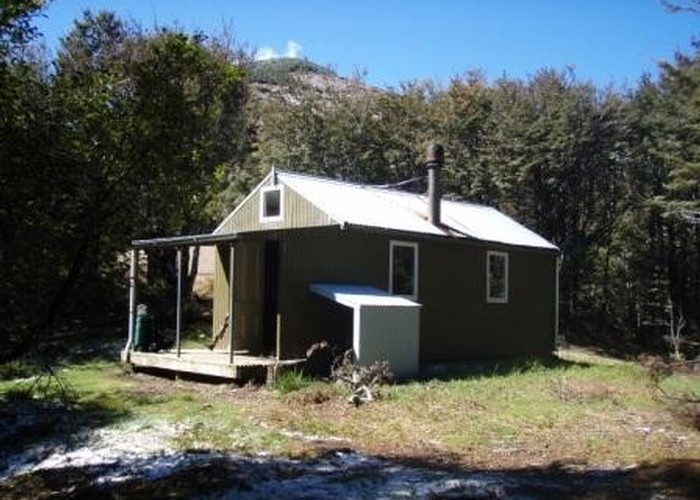
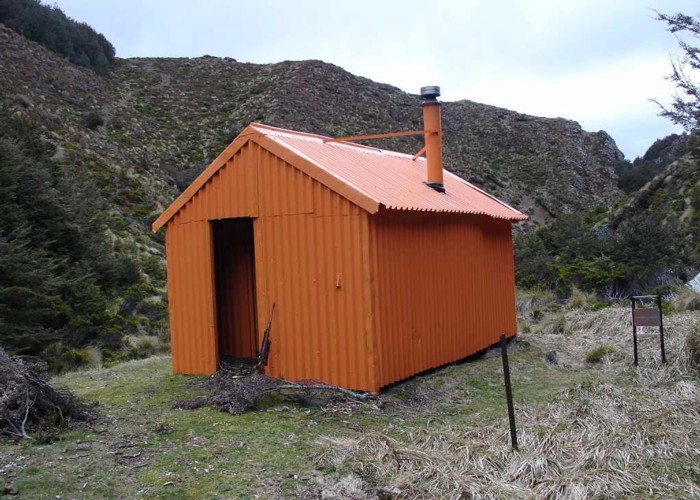
Follow the track down to Back Ridge Hut. The hut is not far from here but you have to descend 400m to get to it. The hut is tucked into a pleasant gully to the right of the ridge. You will see the hut below you as you descend. At one point the poles lead you across an unpleasant slip. It is better to follow down the right hand side of the slip for 20 or 30m and it is much easier to cross lower down.
The track follows the ridge right past the hut to almost the bottom of Sterns Saddle and then doubles back to the hut. It is probably possible to take a short cut just before you enter the bush and drop down to the hut directly.
Back Ridge Hut to Kiwi Mouth Hut
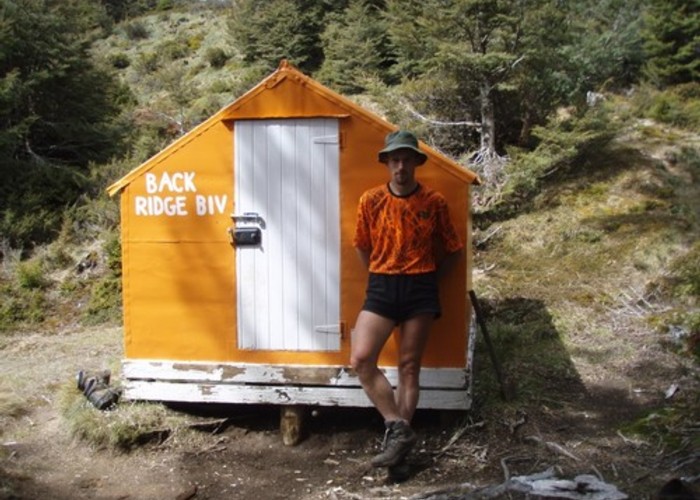
The track leaves the hut, climbs a little then sidles into Stern Saddle to join the main track. Initially the track climbs out of Sterns saddle then it an undulating, generally down hill trip from here along the length of Back Ridge. After about an hour and a half you pass the turn off to Back Ridge Bivy, which is about 100m below the main track to the left.
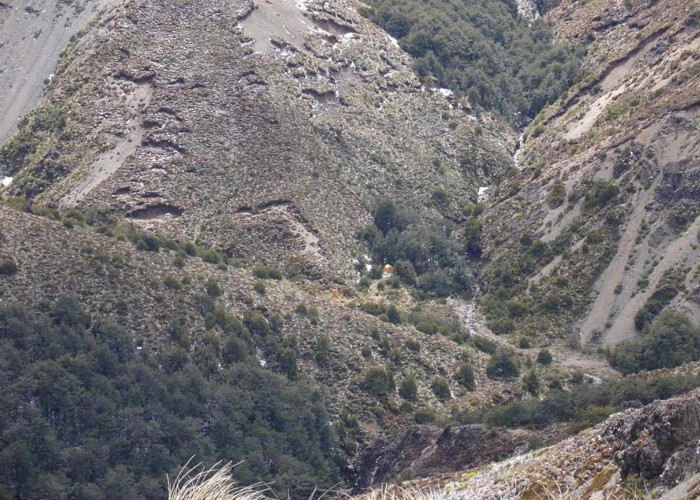
Continue along the ridge until is descends steeply to the Kiwi Mouth. You will see the orange dot of the hut ahead of you in a grassy clearing as you descend. About 100m before the hut you will come across the trampers worst nightmare, an unbridged stream just before the hut. If the stream is high, don’t take any risks, there are good camping sites on this side of the stream. At normal flows there is a good crossing place about 50m upstream from where the track comes to the stream. This is at the foot of a pool and the flow is a slower and there are fewer rocks to negotiate.
Kiwi Mouth Hut to Kuripapango
There are about 4 choices for this route:
1/ Follow the Ngaruroro River down. This involves a number of river crossings and should only be attempted by a party competent in river safety and only if they are comfortable wit the size of the river.
2/ Travel up the Kiwi Stream for about 2kms until a track leaves the valley on the true left and climbs to Kiwi Saddle Hut. Once again this should only be attempted if the level of Kiwi Stream is low and the party is comfortable travelling in the stream.
3/ Climb 600m from the hut to point 1240, then descent 300m to cross a tributary of the Kiwi Stream and finally climb 300m to the hut. The route coming up the Kiwi Stream intersects with this soon after crossing the tributary.
4/ Climb the 600m to point 1240 and then take a track, going through a bush saddle to join with the Cameron Hut track. This bypasses Kiwi Saddle Hut and is technically the only one of these routes that properly circumnavigates the Kiwi.
The route we took was option 3 and it wasn’t as bad as it sounds. We were at Kiwi Saddle Hut by lunchtime.
The final part of this trip is to re trace your steps back to Kuripapango by the way you came in.