
Route Guide: St. Arnaud to Lewis Pass
I’ve always looked at the north-south valleys running between St Arnaud and the Lewis Pass and though there must be a good tramp connecting those two locations. I got the chance to test this out during a recent walk down the length of the Southern Alps of which this formed part of one leg. The following is the route I took – look at the map though – there are many other equally good alternatives out there.
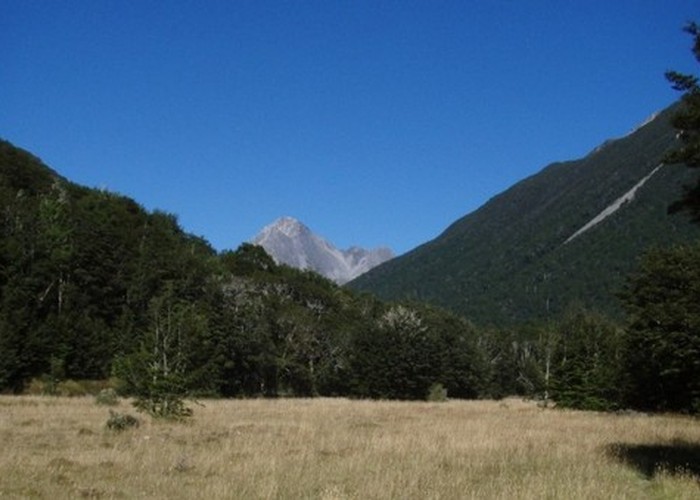
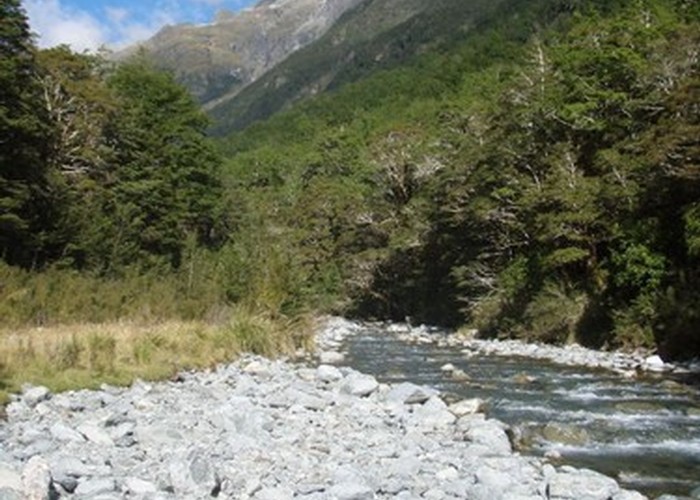
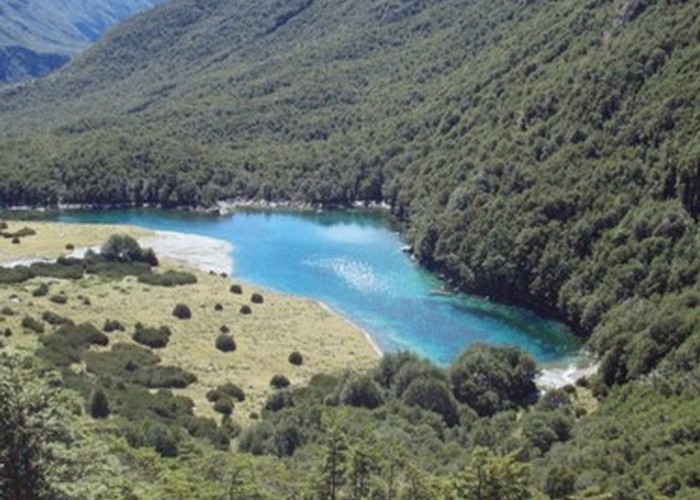
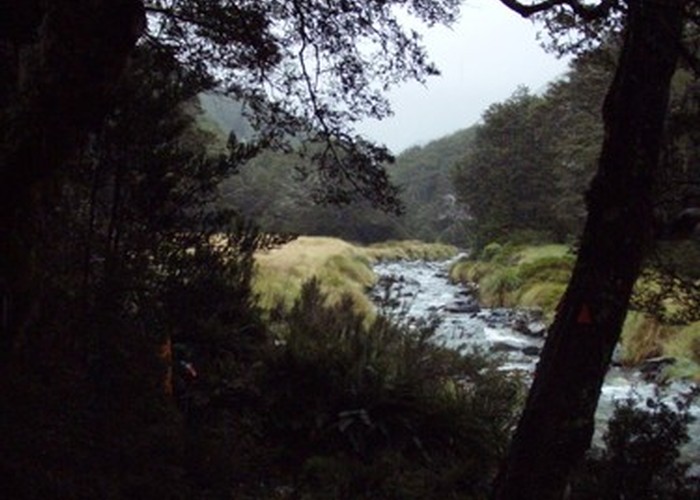
Tramping between St. Arnaud to the Lewis Pass has a certain character that you will come to recognize: long walks up post-glacial valleys, with their complements of deep blue lakes such as Rotoiti and Constance. Starting out amongst mature beech forests on wide valley floors, the valleys narrowing and the track beginning to sidle as the trees diminish in size, and the peaks above become higher. Slips and scree sections become more common. Then out into tussock as you near the valley head. A quick, steep climb over a scree or rocky pass, and then the whole sequence in reverse to the confluence with the next river.
A journey from north to south is also a journey from tourism and bustle to tranquility and peace- but with beauty throughout. In the Travers and Sabine, you are likely to share huts with a dozen other people – but then into the upper D’Urville, Matakitaki and on the St James walkway anyone you meet will be a pleasant surprise. Opportunities for freedom camping abound, with grassy river flats or small alpine tarns providing beautiful spots for a night of peace away from the bustle of some of the more popular huts. That said, huts abound and for those wishing to do so every night can be spent in a hut.
The following route is, for the most part easy – moderate going along valley-floor tracks. 4 or 5 moderate–hard alpine passes connect these valleys, and 3 of these are unmarked and require good navigational skills. Passes are high (two are over 1900m) and as such subject to severe weather conditions.
Access
The northern access point at St Arnaud is on SH63, and has frequent bus services through Atomic Shuttles and others.
The summit of Lewis Pass provides the southern access, and also has daily bus services.
Alternative southern access points at Springs Junction, and the southern end of the St James Walkway are also both on the Lewis pass and accessible by bus.
St Arnaud – Upper Travers Hut 25km (7-14hrs)
An easy days tramping along very well maintained valley floor tracks past Lake Rotoiti, through beech and grassy flats. 2000m+ peaks tower above, providing scenery, but the track remains firmly on the valley floor. A gentle 700m climb throughout the day.
A signposted, benched walking track leads along the eastern shore of Lake Rotoiti from St Arnaud to Lakehead Hut. This track is popular with day-walkers, so get out early if you want to avoid the rush. 7km (1h30 – 3hrs).
Alternative access is available up the western side of the lake.
From Lakehead Hut the track is no longer benched, but cut, marked and well maintained. It runs up the east bank of the Travers river for 4km, before crossing by swingbridge to the west, where it joins the alternative track up the west side of Lake Rotoiti. From here it’s a further 4km in and out of the bush along river flats to the confluence with Hopeless Creek, where a track climbs to Hopeless Hut. Heading 200m up the Hopeless from the confluence, the signposted Travers River track, branches left over a fixed bridge, and returns to the Travers river. It’s a further 4.5km of gentle climbing beside the river to reach John Tait Hut. 12.5km (3.5-6 hrs).
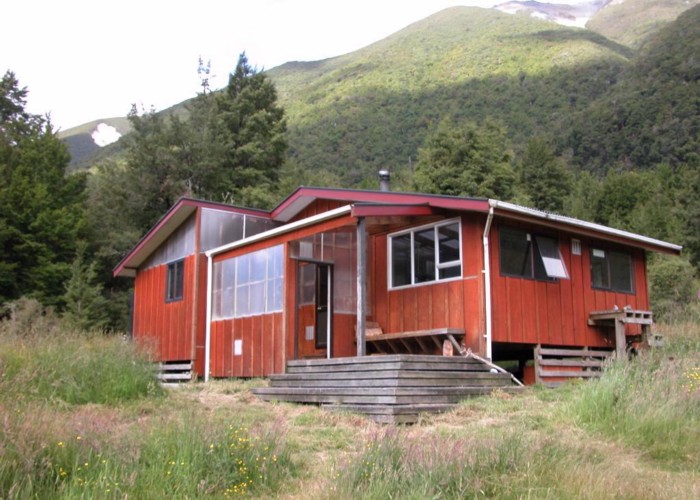
From John Tait Hut, 1st 1km of flat valley floor walking to the turnoff for Cupola Basin Hut. From here the track begins to climb a little more steeply, and sidles first the west, and later eastern valley-side a further 4.5km to the bushline. The track crosses several avalanche paths which are signposted during the danger season. Upper Travers Hut sits on a terrace on the true right, 500m beyond the bush edge. Good bathing pools exist next to the bridge below the hut. 6km (2-3 hrs)
Upper Travers Hut – Blue Gem Lake Hut 14km (5-11hrs)
A steep climb, and even steeper descent along a well maintained track over Travers Saddle followed by a gentle sidle down to West Sabine Hut. 7km of well maintained sidle track up the Sabine Valley to Blue Gem Lake Hut, with one brief and easy scramble to cross the creek descending from Moss Creek.
From Upper Travers Hut the signposted, poled track continues into the tussock basin at the head of the Travers valley. A brief climb up stable scree on the true right leads to the summit. The descent on the far side is steep, but well marked: the track sidles above the bushline to a gravel gully, which it descends steeply on the true left. Cairns mark the way. Below the treeline, track markers begin again leading into the bush. Reaching the valley floor, the track sidles the true right as the river drops into a deep canyon only a couple of meters across. This is crossed on a fixed bridge with the water barely visible in the gloom below. The track cuts back and climbs slightly and then sidles the true left to the Sabine Valley, where it descends steeply to reach the valley floor 500m north of the hut. 7km (2h45 – 6hrs).
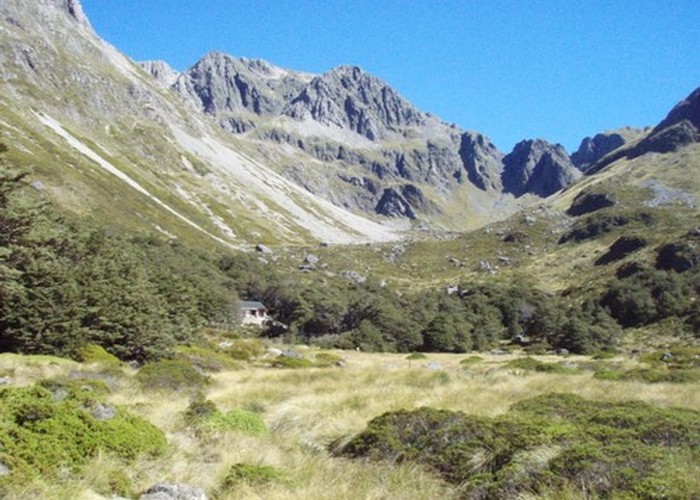
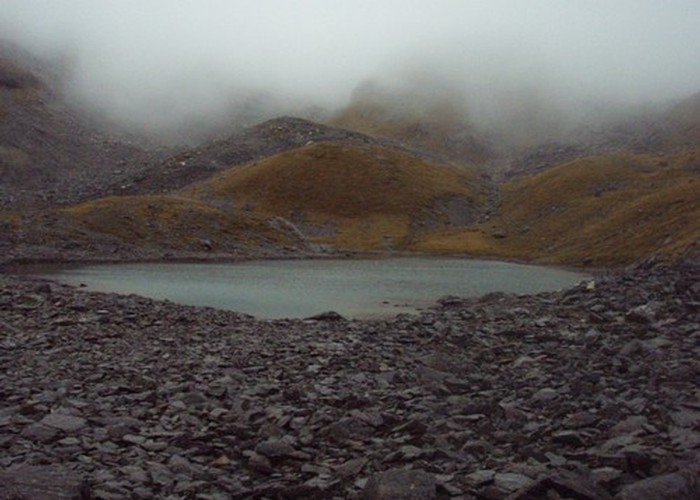
From West Sabine Hut, either ford the river, or return 500m downstream to the swingbridge, and pick up the cut, marked track heading upstream on the opposite bank to Blue Gem Lake Hut. It’s about 5km of gentle climbing along the valley floor to the bushline, then 2km though rocks and bush patches, crossing the Moss Pass creek. Large triangles mark the start of the track again after the rocky section, and a brief climb follows leading to boardwalks over small tarns just below Blue Gem Hut. A beautiful spot – but these are not the Blue Gem Lake – which lies just beyond the hut. 7km (2-5hrs)
Blue Gem Lake Hut to Thompson Pass 9.5km 4-7.5 hrs
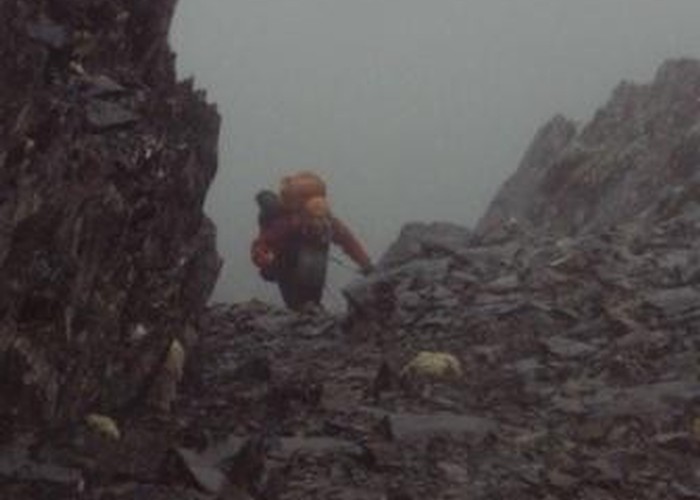
A tough walk along unmarked routes, with either 2 or 3 600m+ climbs. Poled routes lead over the steep Waiau Pass. The alpine route to the Thompson pass is unmarked but obvious on a clear day, and not too steep.
An alternative to Waiau Pass / Thompson Pass is to cross the poled route over Moss Pass, descending back to 700m into the D’Urville Valley. You can then follow the marked track upstream to D’Urville Hut and cross David Saddle. You’ll miss some beautiful views though …
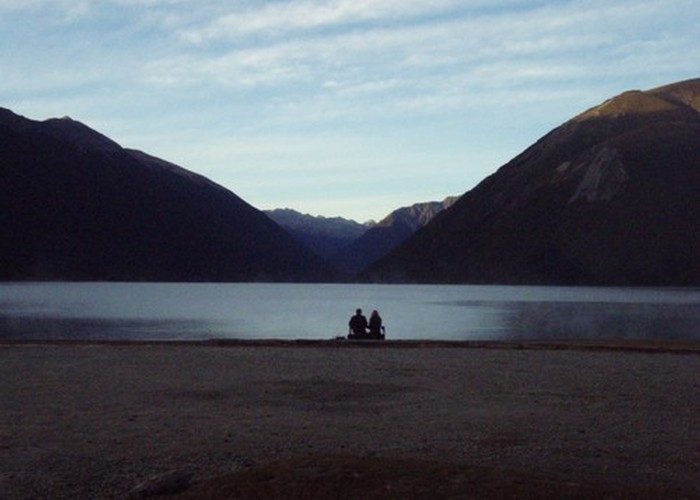
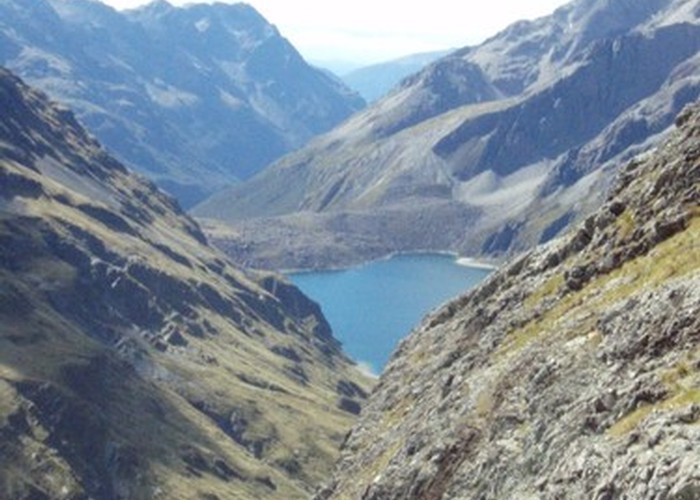
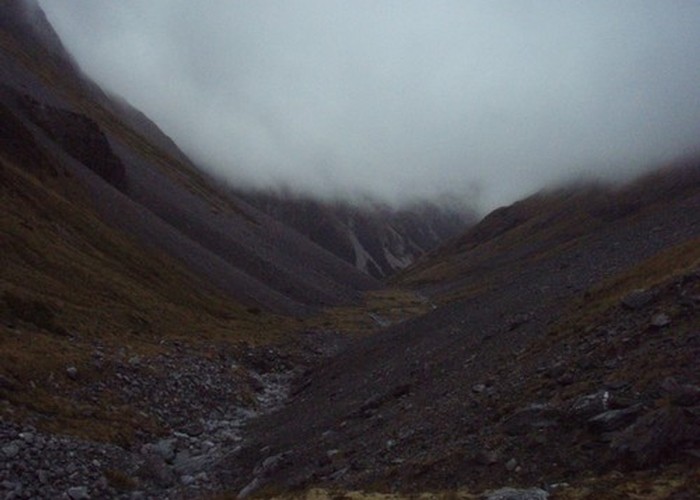
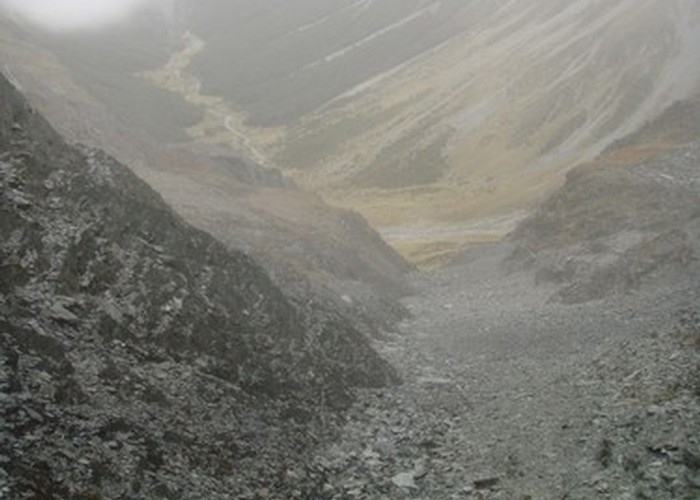
From Blue Gem Lake Hut, a marked, poled track leads through tussock past the Blue Gem Lake, and up onto the moraine wall below Lake Constance. The poled track then climbs the scree slope at the western end of the moraine dam, to pass above bluffs on the lakeside. A steep descent of a tussock gully follows, 1km up the lake and the track turns to the lakeshore. The poles then vanish for a while, and you wander up the obvious track along the grassy valley floor past the lake as the valley swings west. Keep your eyes out for DOC triangles climbing the valleyside on the true right: this is Waiau Pass. The climb to the pass is very steep, and crosses one slip of rotten rock and loose gravel – not much fun. Near the top, however, the track returns to tussock and sidles up for an easy climb the last 200m to the summit. Clear views over Lake Constance to the north, the Waiau valley to the south, and the Thompson Lakes and pass to the west are your reward. The descent into the Waiau is no reward, however: it’s just as steep as the ascent – though equally well poled as far as the valley floor. 7.5km (3-6 hrs)
On reaching the Waiau river, head upstream towards the Thompson Pass. You’ve two options: either head up the obvious scree escarpment on the true left, leading directly to the pass, or follow the stream to the Thompson Lakes. The escarpment is far quicker, for those in a hurry. 2km (1-1.5hrs)
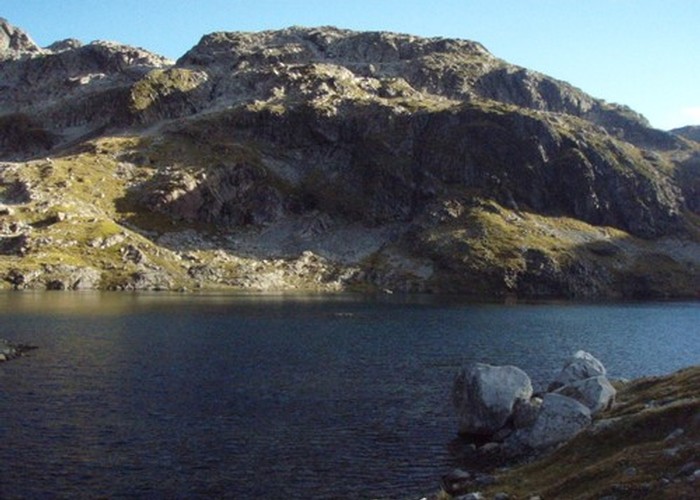
For those wanting to rest – or merely in love with the view, an excellent camping spot exists at the outflow of Lake Thompson: a large boulder provides shelter to the prevailing westerlies, and small drystone walls have been built to provide additional protection. An evening dip in the lake, and wake to beautiful views of the upper Waiau – or to dense fog!
Thompson Pass – East Matakitaki Hut 11-13km (4-10hrs)
The alpine route to the Upper D’Urville passes is unmarked and rough / steep in places. It is not obvious in poor visibility, and you might want to consider the more obvious David’s saddle in mist or fog.
For those taking David Saddle, the route is moderately steep on the D’Urville side, and marked as far as the bushline. The descent on the Matakitaki side is very steep, running loose scree as far as the valley floor. A well-travelled, unmarked valley floor route leads down the Matakitaki to the East Matakitaki hut.
Two options exits from Thompson Pass to the Upper Matakitaki. In clear visibility, it is easiest to head through the Upper D’Urville pass (unnamed on maps) directly into the Matakitaki without descending into the D’Urville valley. Pass though the Thompson Pass – the canyon-like V shaped notch (to the north of the lake). Climbing a little, sidle south and pick up obvious terraces leading into the basin between peaks 1937 and 1964. Cross through the col into the head of the East Matakitaki. There’s some rough sidling, and the descent is steep in places, but reasonable in good visibility. I’d not recommend it in poor visibility though, as it could be hard to find the correct terraces leasing to the pass. Follow the Matakitaki valley floor through tussock flats to where it swings south below David’s Saddle. 5km, (2-3hrs)
The second option requires less route-finding skill, but involves an additional climb: descend Thompson Pass, following cairns and cutting to the true left to avoid steep ravines to reach the valley floor. Follow the valley on the true-left until you find track markers (orange triangles) climbing into the area of bush just upstream of the gully leading to David’s Saddle (D’Urville hut is 2km downstream at this point for those needing to rest for the night). Follow the orange triangles steeply uphill until they descend into a small gully, not marked on the map. The markers now become sporadic, and it’s basically up to you to follow the gully up. This is the slight ‘v’ in the contours shown on the topomap to the east of the 770 gridline. As such, you’ll have to abandon the gully at some point before you hit bluffs and scree, and cut 500m to your right to find David’s Saddle. I walked this section in thick fog, and can confirm that with careful map reading it is possible to find the saddle. In clear conditions it should be clearly visible above. The descent of the Matakitaki side of David’s Saddle is steep and loose: follow the base of the ‘V’ shaped ravine all the way to the valley floor, surfing a tide of loose scree all the way. 6km (4-7hrs)
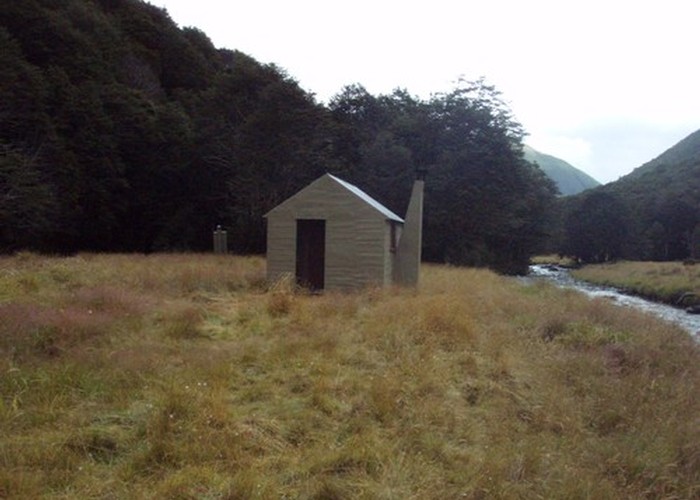
The descent of the Matakitaki is childsplay after what came before. A well trodden, unmarked route follows mainly the true-left across tussock flats and through occasional tongues of beech. Most people cross the creek several times to follow the best going, but is should be possible to stick to the true left in high river levels. Look out for the cairn and brass memorial to Max Smart in a patch of bush on the valley floor. The marked track from Enid Peak 1km above the hut is fictional – track markings only begin beyond the hut. East Matakitaki Hut sits on a small terrace just above the river of the true left. 6.5km (2-3 hrs)
East Matakitaki Hut – Bob’s Hut 7km (2-4hrs)
An easy walk along maintained, cut tracks through the Matakitaki valley floor. One bridged river crossing of the West Matakitaki near the forks, but the crossing below the hut is unbridged. It was very low when I crossed, despite 24 hours of rain and looks unlikely to cause problems- but be warned all the same.
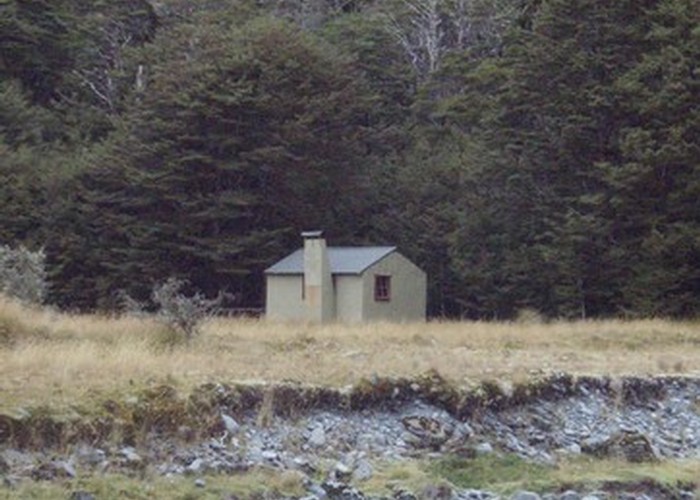
Follow the clearly marked cut track down the true left of the Matakitaki from the hut. It’s about 3.5km to the junction with the track from the Matakitaki roadend. Continue on the true left towards Bob’s Hut, and cross the West Matakitaki on the interesting 3-wire bridge. The track climbs steeply 100m to a river terrace which it then follows for an easy 2km to the bushedge. Bob’s Hut lies 1km across the flats – stick to the true right, and cross the Mount Maling Creek beside the hut. 7km (2-4 hrs)
Bob’s Hut – Ada Pass Hut via Three-Tarn Pass: 13km (6-11 hrs)
A moderate alpine pass in good weather – but high and exposed in bad conditions. A good marked track leads to the bushline, from where it’s an easy-moderate unmarked valley floor route up to the tarns. From the tarns to the pass is a brief, steep climb up loose scree, as is the longer descent into the branch of the Maruia. An easy 2.5km of tussock-hopping follows with a cut but unmarked track through the final bush/scrub section to Ada Pass Hut.
Follow the marked track up the West Matakitaki from Bob's Hut, crossing to the true-right after about 400m. The marked track is maintained as far as the bushline (4km) where it ends. From here follow the valley floor on the true-right until the valley starts to gorge out a bit before it swings south. A cairn marks the place to cross to the true left. Climb steeply for 100m to the open terraces on that side. Follow the tussock / speargrass covered terraces upstream (stay out of the bush) until you are past the gorge, before returning to the river. From here its and easy, steady climb for 3km to the three tarns. 9km (3.5-7 hrs)
From the southernmost tarn, head SSW (200o), climbing steeply up loose scree for 300m to the pass – a distinct notch in the range, clearly visible above (unless like ourselves you are walking in think fog). Continue the same direction to descend to the tarn clearly visible (if you’re lucky) below on the far side. An easy descent can be made down good scree face to the right (west) of the outlet of the tarn, following the gully to the valley floor. On the valley floor, travel is easiest on the true right. On reaching the bush, look for cairns and marker tape on the bushedge at the top of the steep drop into the river, showing the start of a cut track. This is mostly unmarked, but can be followed all the way to Billy Goats Gruff Bridge, on the St James Walkway. Ada Pass Hut is 500m east along the walkway. For those walking the route in reverse, a cairn 100m west of the bridge marks the start of the cut track towards Three Tarns Pass. 4km (2.5-4 hrs)
Ada Pass Hut – Lewis Pass: 13km (3-6 hrs)
An easy walk along a benched track in mature beech in the Maruia Valley.
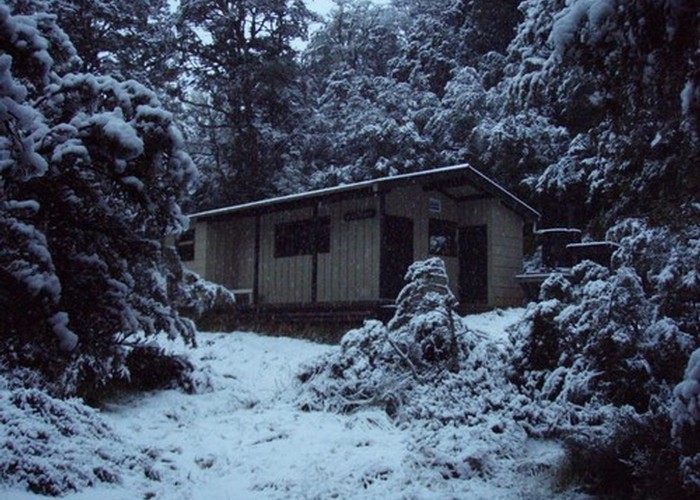
From Ada Pass Hut, head back over Billy Goats Gruff Bridge, and follow the track through beech and tussock clearings to Cannibal Gorge Hut (4.5km, 1-1.5 hrs)
Leaving Cannibal Gorge Hut the benched track climbs gently to sidle the valleyside for 5-6km before dropping to the swingbridge over the Maruia. It the climbs through a series of switchbacks and heads south up a side-valley, to come out at the summit of the Lewis Pass, 2km beyond. (8.5km, 2-3hrs)