Route Guide: Otira to Mt Cook Village (pt 2)
- 12 – 21 days one way
- Hard
One possible route down the main divide from Otira on the Arthur's Pass road to Mt Cook Village.
Otira Hotel to the Mountaineer's Bar - file this one under 'tramps starting and ending at a pub'.
|
Walking time
|
12 – 21 days |
|---|---|
|
Distance
|
220.0km |
|
Type
|
One way
|
|
Grade
|
Hard
Multiple 2000m+ untracked passes, remote country, big swift rivers Grades explained
|
|
Bookings
|
No bookings — open access
No — open access
|
|
Starts
|
Otira Hotel |
|---|---|
|
Ends
|
Mt Cook Village |
|
Maps
|
NZTopo50-BV19
NZTopo50-BV18 NZTopo50-BX16 NZTopo50-BX17 NZTopo50-BW18 NZTopo50-BY15 NZTopo50-BU20 NZTopo50-BV20 |
|
Altitude
|
200m
–
2,270m
Altitude change 2,070m
|
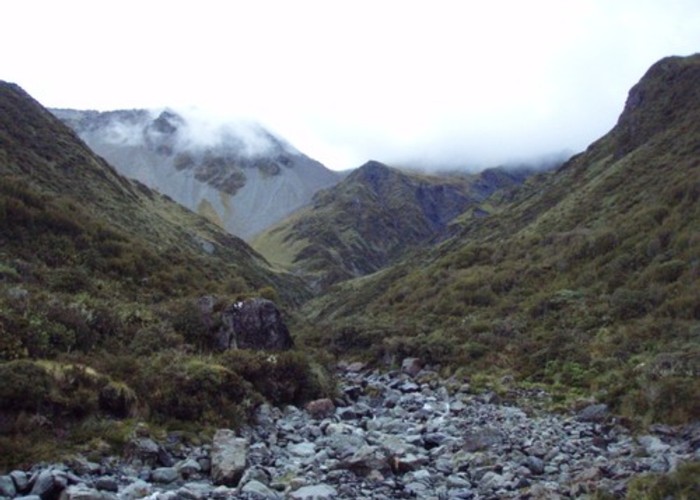
Neave Hut -> Louper Biv (5hr30, valley route / low pass over Louper Saddle)
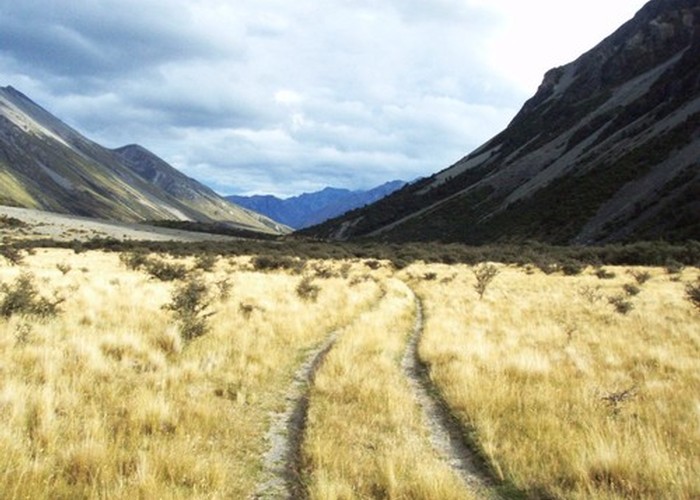
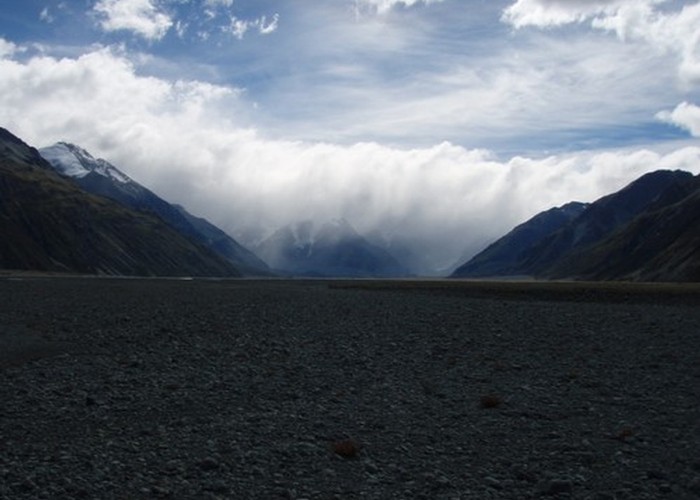
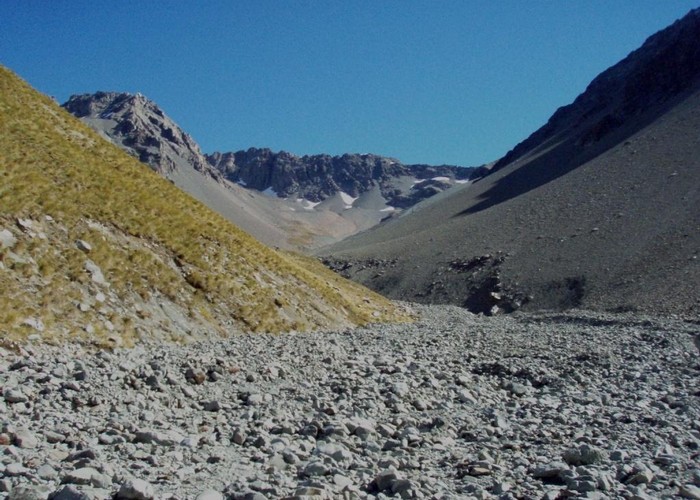
From Neave Hut, follow the now small creek-bed of the Whitcombe and adjacent tussock flats upriver. Going is scrubby at first but soon clears. The valley keeps a steady gradient all the way to the low pass at the Louper Saddle.
Descent of the Louper is steeper, with one section of waterfalls easily passed on the true left. From the base of the falls it’s an easy walk down the creekbed to the Raikaia. Louper Biv is 1km downriver on flats at the foot of the northern valley face. Those crossing to Reischek are advised to drop to Louper Biv first for a good braided crossing of the river.
Louper Biv -> Reischek Hut (30 mins, valley flats, hard river crossing)
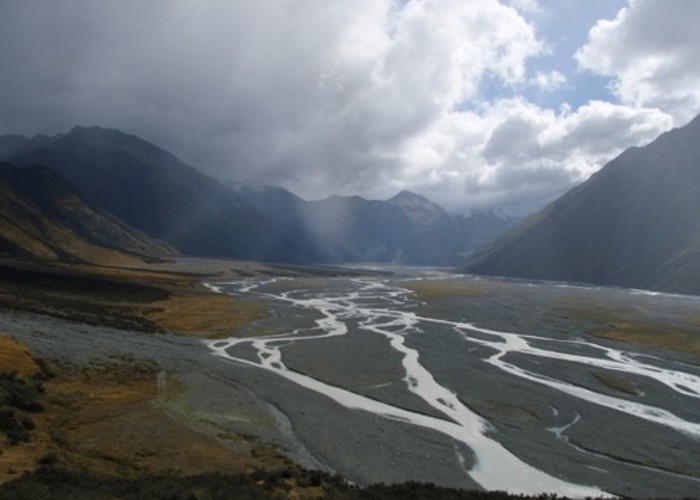
Head directly from Louper Biv towards Reischek Hut across the shingle flats of the Raikaia. A large cairn marks the route. The river briefly braids into 5 channels (2006) at this point, and crossings are tough but reasonable in low-moderate river levels. Higher water levels apparently mean dropping 15k downriver to Erwhon Station to cross, if at all.
Resichek Hut ->
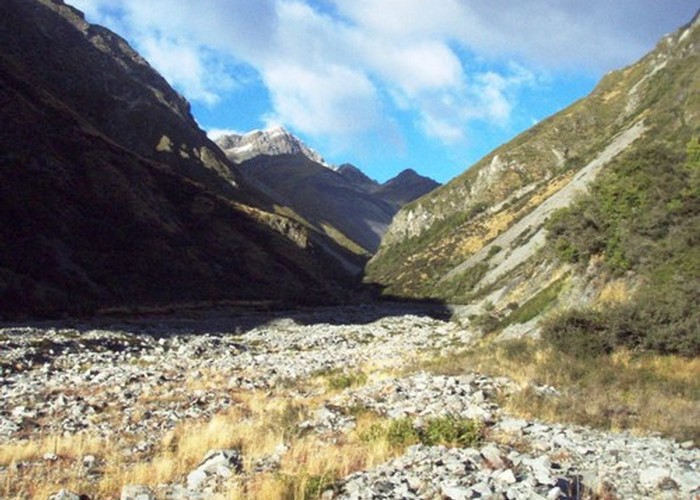
Follow the Raikaia valley floor upriver to the confluence with the Reischek. A flood route exists over the bluff to the east of the confluence if required – but was not needed in low-moderate flows when I visited. Follow the gravel /rock riverbed up the Reischek. Take the true-left branch at the first main forks after about 1km, and the true right at the next fork 1km further upstream. The valley becomes steep by the second fork, and gorges out – some sidling on loose fine scree and tussock is required. After the second fork, follow the steeply climbing valley to the basin between Butler Saddle and
The descent of Butler Steam is straight forward: surfable scree all the way down to the valley floor, and good gravel creekbed beyond. One gorge exists just before the confluence with the
Lawrence Biv sits on grassy flats 1.5km down the
Follow the gravel / grassy
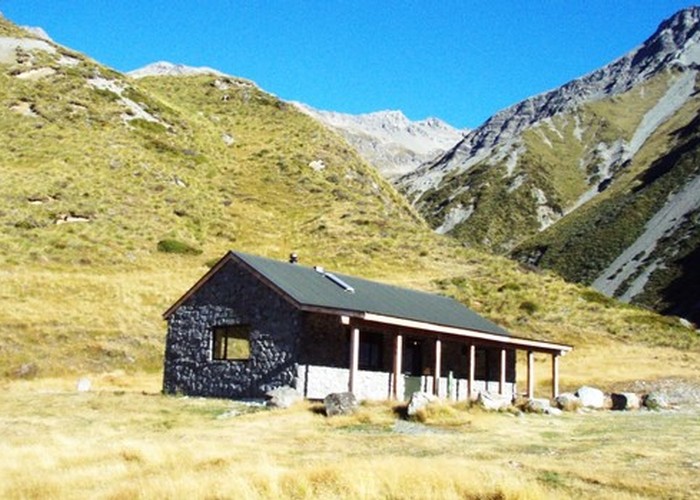
Lawrence Hut can be hard to find – it is incorrectly shown on old 260 series maps, and lies on the north side of the next tongue of beech north of the marked location. The hut is at the back of a grassy terrace on the west of the river, and cannot be seen from the riverbed / track. When you find it, it is a pleasant 6-bunk forestry service hut, with pioneer stove (so no good for cooking), tank water and toilet.
Follow the
A 4WD track crosses a braided section of the
Growler Hut -> MacCauley Hut via Balaclava Saddle /
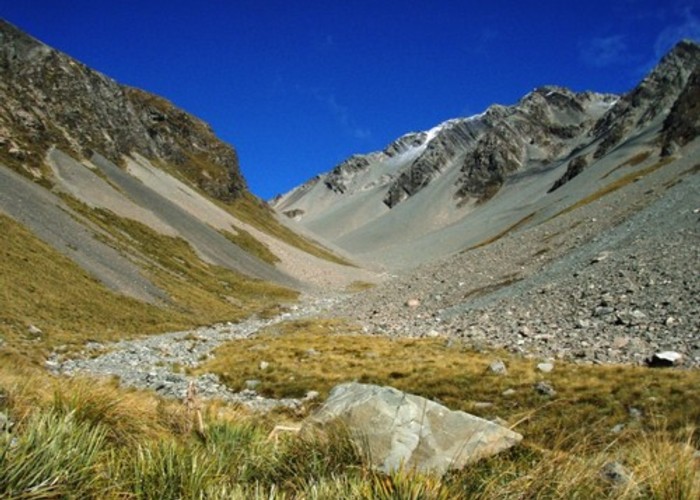
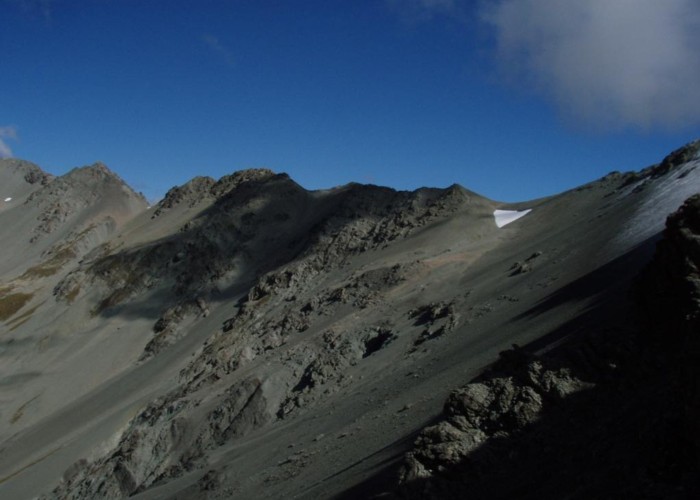
A 1300m steady climb up the Growler to Balaclava Saddle, and a second 600m climb up scree to Plata Col (or tough sidle 1.5km across scree if snow loading above permits). Steep, rocky descent of Tomms Stream:
Follow the good valley floor route up the Growler from the hut. Before the first falls, a sidle route is clearly visible heading diagonally up a scree on the true left. A cairn on the grassy flats marks the start of this route for those descending. A second bouldery section is sidled easily by a rough track on the true right, clearly visible crossing the scree just above the scrubline. The sidle track starts on the terraces at the fork to
From Balaclava Saddle you need to cut west 1.5km to
From

MacCaulay Lodge sits just downstream of the confluence of Tomms Stream with the MacCaulay, on the opposite side of the river. The river is only 2-3m wide at this stage, and crossing will not be an issue if you got down Tomms Stream ok! MacCaulay Lodge is a luxurious stone building owned by MkKenzie Alpine Trust, and open to the public. It features lighting, gas, stove, an oven and mountain radio. There’s even a bath, if you can be bothered to build a fire to warm it!
McCaulay Hut -> Rankin Hut (6hrs, good route over the
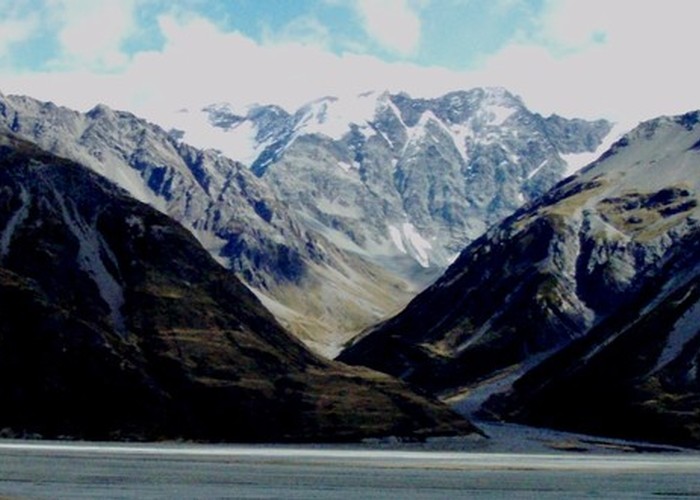
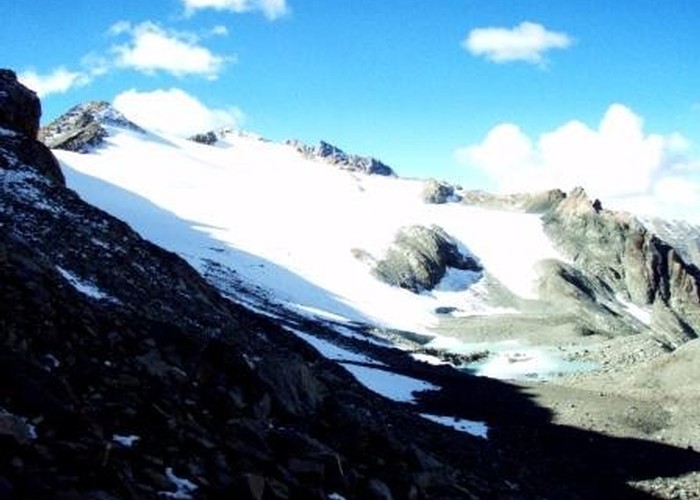
Follow the Tindall stream up from the hut. Going is good up the tussock / rock valley floor until a series of waterfalls are encountered. The tussock ridges on the right (true left) provide good access from here to the basin above at the head of the creek and a series of emerald-green tarns. From here it’s a 200m climb to the pass, over first tussock and later good solid scree. The pass provides amazing views of the tarns, the MacCaulay valley, and glaciers all around: Mt Chevalier, and the
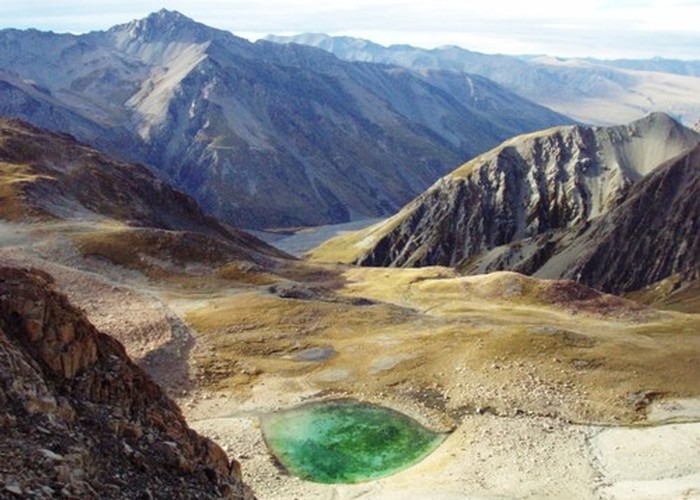
Descend the scree-elevator on the far side, free-running to the valley floor. 2 hours of picking your way downriver through loose rocks and boulders follows on the recently vacated glacial valley floor, to the old terminal moraine. From here going is more stable but steeper, down solid scree and later tussock to the
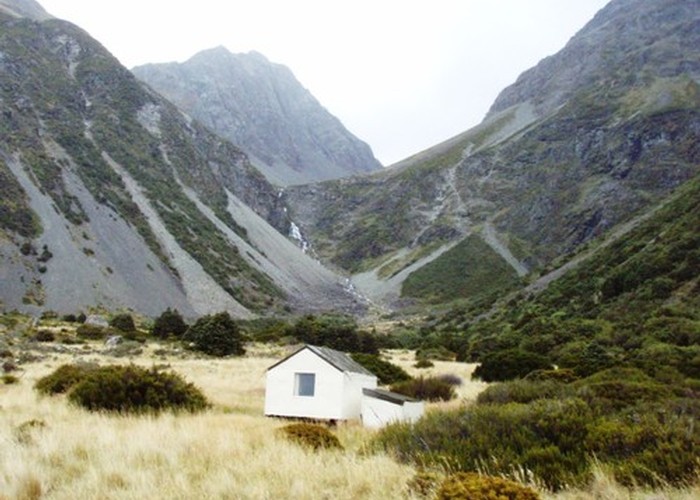
Rankin Hut lies in the shelter of pines, directly across the valley, and is visible from the exit of the creek. Cross the
The six-bunk Rankin Hut is private and can be booked though Godley Station for a fee. Public alternatives are Red Stag Hut on the eastern side, and Eade Memorial Hut on the western bank, both some distance upriver.
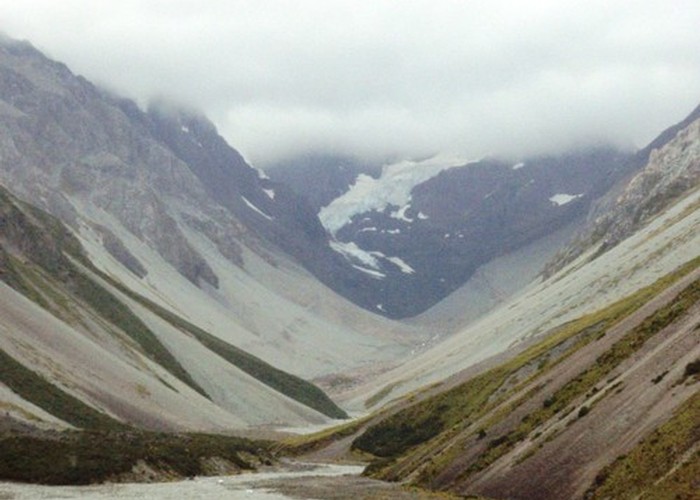
Rankin Hut to Cass Forks (4.5 hrs, alpine route, over
Follow the Rankin valley floor upriver from Rankin Hut to the moraine wall of the lake. Going is easy over scrubby tussock and river gravel. From here the creek ascending to
From the
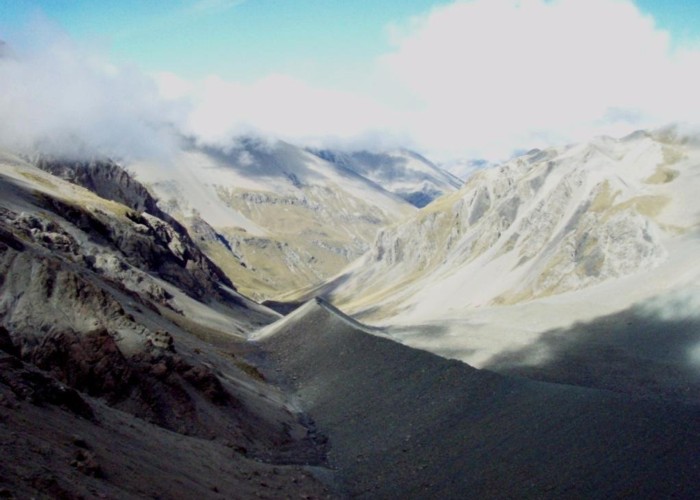
On passing the glacier’s terminal moraine, travel becomes easier, less loose rock and more solid gravel / tussock. Follow the valley floor to the forks between the east and west branches of the Cass. The (private) Memorial and Birdcage huts lie 3km downriver from this fork.
From the Cass to the Murchinson, two options exist:
From the forks in the Cass (3km upstream from Memorial / Birdcage huts) head up the west branch of the Cass towards where the spectacular Faraday Glacier (we seem to have a run on physicists here) is visible descending from Mt Hutton. Follow the valley as it swings west past the foot of the Faraday and heads directly for the
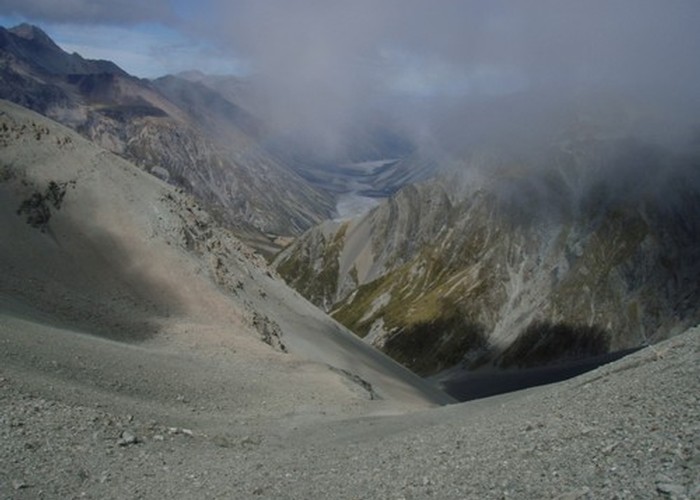
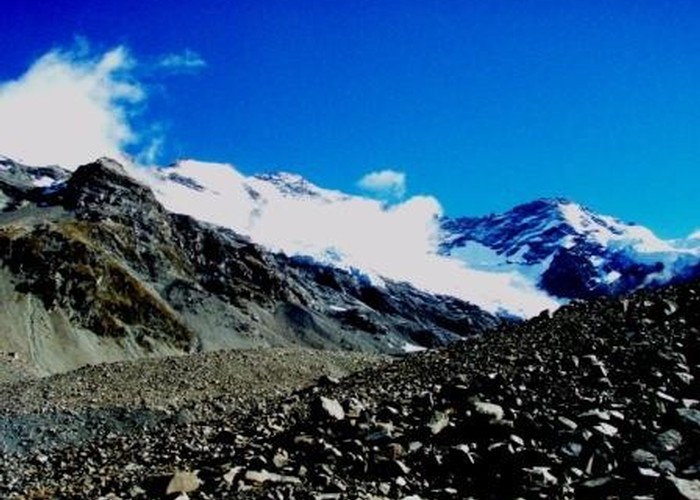
A steep creek is visible descending on the true left (your right) from the terminal lake of the Low Ridge Glacier. A clear scree ridge runs up to the far side (true right) of this creek to the plateau on which the glacier sits. Ascend this ridge, which is a moderate-difficult scramble up sometimes free-running rocky scree. Cutting to the left of the Low Ridge Glacier on rock or snow as required, it is easy to reach platforms leading west again to a point directly below the Rutherford Pass. From here the route is obvious, but tricky. Use the various scree chutes / scree faces to ascend to the pass, cutting left and right on the intermediate rocky platforms as required to reach good ascent routes. Rock/scree becomes increasingly larger and more stable as you ascend, but is sharp and abrasive stuff to scramble over.
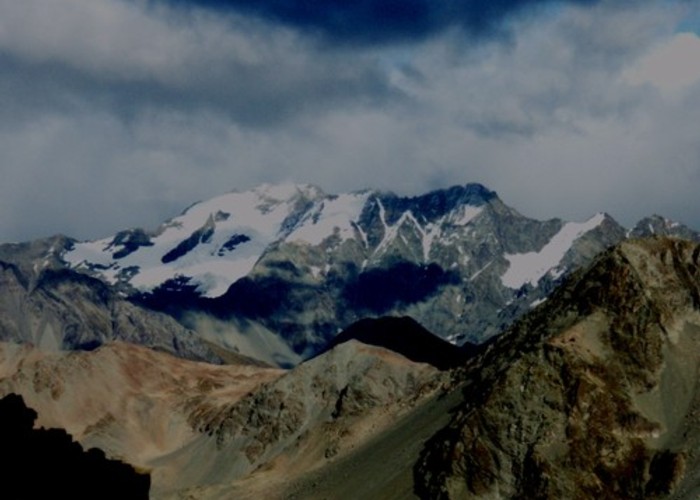
The view from the pass is almost without equal: the broad post-glacial desert on the Murchinson valley floor with the sheer face of the
From the 2270m summit of the
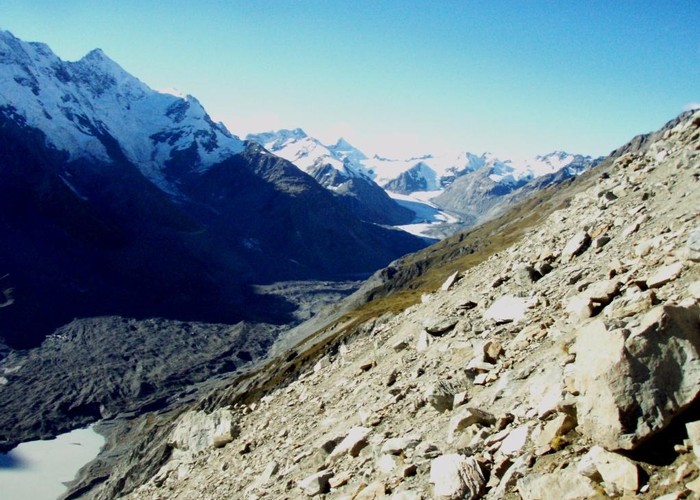
This can be descended easily for about half it’s length to where a clear scree chute (shown on the map) drops off it’s left-hand (western) side to the side-creek above the hut. This chute in hard going – not free-running scree, but finer gravel and soil and makes for a slow, careful descent. However, from its base it is an easy walk down the creek for the remaining 200m to the Murchinson valley floor. Liebig Hut is about 500m downriver, hidden from view behind the large scree fan.
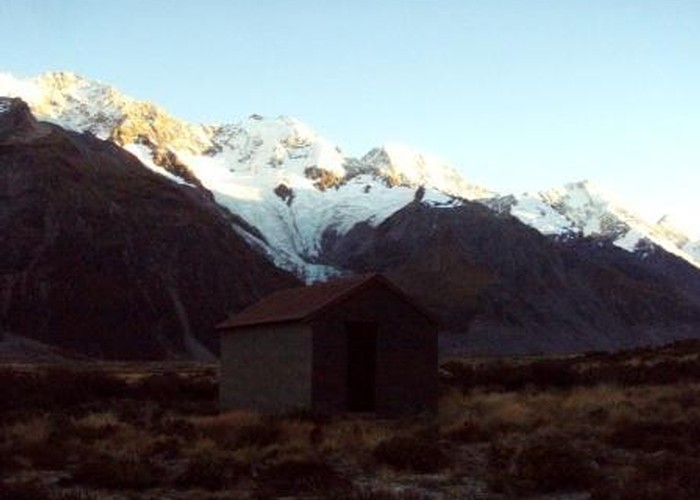
Liebig Hut -> Mt Cook Village
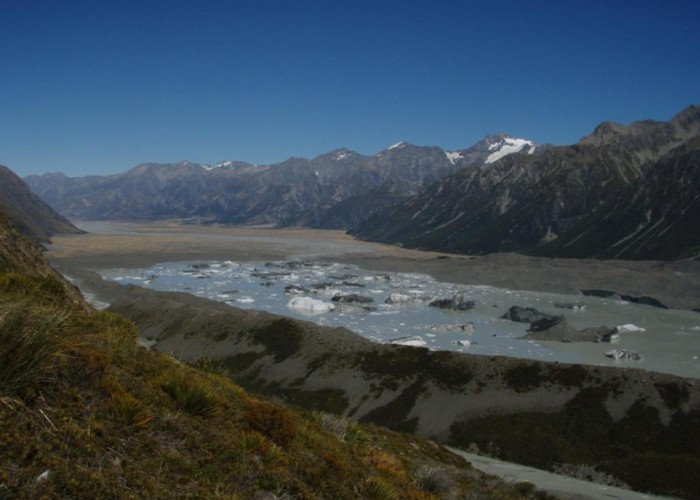
The best route out from Liebig hut is to cross the Murchinson, head down the river flats and follow the lateral moraine down the side of the Tasman glacier and lake until you reach a spot where the glacier boats can collect you. You will need to arrange a pickup in advance. Other parties report crossing the Tasman Glacier to the road, but this clearly requires the requisite skills and experience for glacier travel.
The route documented here is an alternative high-water route sticking to the true left, in case the Murchinson cannot be crossed. It is very hard going, and not recommended unless it is absolutely necessary.
Murchinson true left to glacierlake: (6hrs, route, difficult with frequent climbs and steep sidles)
Follow the easy gravel flats to the corner where the river enters the Tasman valley. Bluffs drop almost straight to the river at this stage, but a difficult low scramble is possible, with care. About half way an old system of wire ropes will be encountered which lead to the far side of the bluffs.
From the far side, follow the valley floor as far as possible, but you will eventually find your way blocked by bluffs, and will need to climb to steep tussock slopes 200m-400m above, and sidle. Repeated guts cut through the valleyside, and are mostly impassable – making it necessary to drop right to the valley floor to cross them, and then ascend again. The lower slopes become increasingly scrubby, and dropping through the scrub is difficult, time consuming and tiring. This process is repeated for several km until finally the river flats become passable again 600m from the entrance to the glacier lake.
It is worth noting that marginal mobile phone coverage is possible in the higher slopes as you near the lake, and it may be possible to contact the glacier boats to confirm your pickup time from here. However, the signal was very weak, and I wouldn’t want to rely on it.
A final band of scrub forces another scramble from the valley floor for the last 100m to the lake. Finally the rocky debris of the moraine wall which retains the lake is reached. Hopefully you’ve arranged for the boat to pick you up here, otherwise it’s a long walk down